Deck Waterproofing: The Ultimate Guide for Auckland Homes

Auckland Waterproofing Experts

“In Auckland, rain tests every seam—your deck waterproofing must stand up to every drop.”

— Auckland Waterproofing Experts

Deck Waterproofing: The Ultimate Guide for Auckland Homes

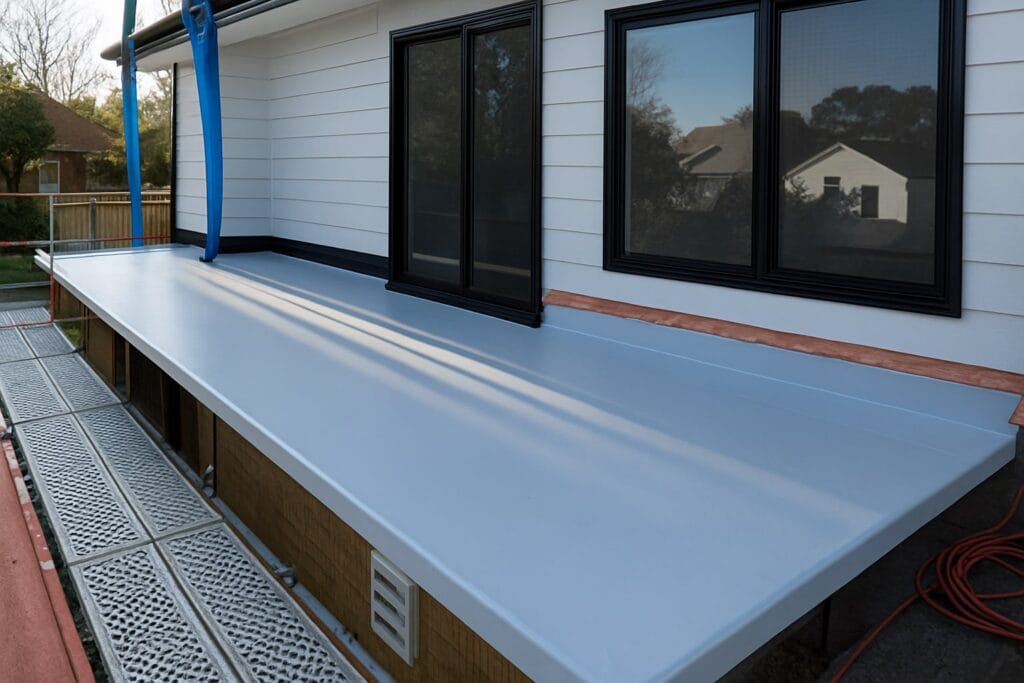
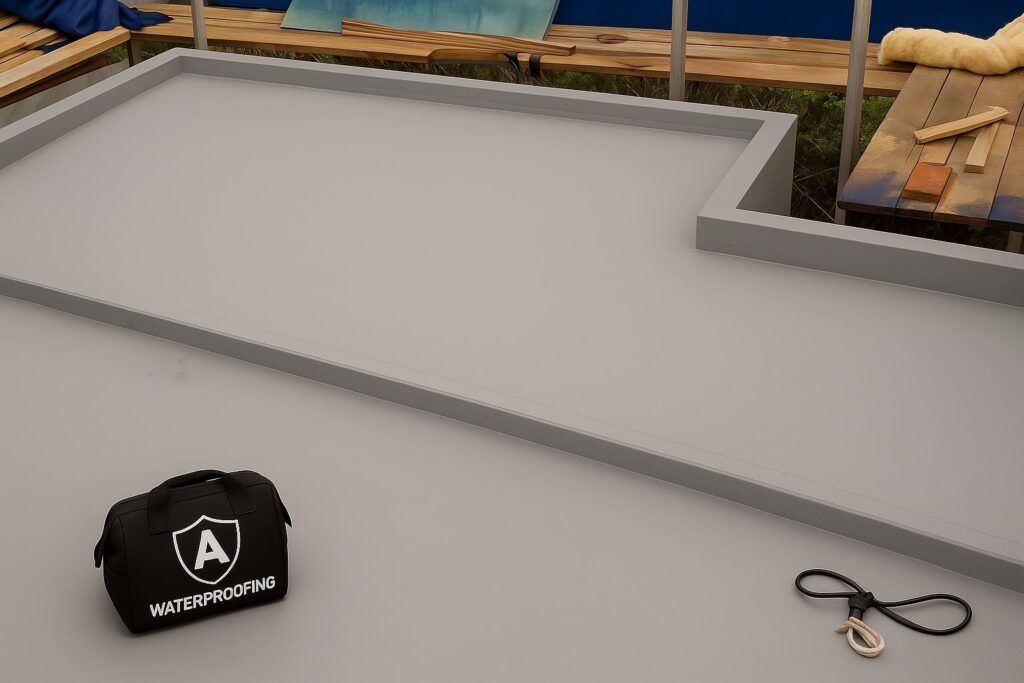
TPO Membrane

Why Deck Waterproofing in Auckland Isn’t Optional

Auckland’s weather delivers more than its fair share of rain and humidity—making deck waterproofing a top priority for every local homeowner. With over 1,200mm of rainfall on average each year, your deck is constantly exposed to the elements. Left unprotected, decks quickly deteriorate, develop leaks, and transmit moisture into your home’s structure.

“Slippery or deteriorating decks are common in Auckland. Proper membrane systems solve these issues and prevent premature damage.”


— (Waterproofing Guide)

Decks—which are often built directly over living spaces, garages, or rooms—can be a major source of hidden leaks and damage. Unchecked water ingress not only ruins outdoor living areas, but can also trigger expensive repairs, cause mould issues, and impact your property value.

The Hidden Costs of Deck Leaks

Water doesn’t need a wide-open crack to cause damage. In Auckland’s climate, micro-leaks can quickly become structural issues, rotting joists, corroding fasteners, causing paint to bubble, and more.

Direct costs: Timber decay, swelling, and delamination of deck boards.
Collateral damage: Rot affecting wall framing, insulation, and ceiling linings beneath the deck.
Health impacts: Mould thrives in moist, concealed locations leading to odours and potential respiratory problems.
Property value: Real estate agents and buyers spot water damage, impacting sale prices and making insurance claims harder.

Understanding the NZ Building Code & Auckland Regulations

Deck waterproofing isn’t just best practice; it’s a compliance issue. The New Zealand Building Code (NZBC) E2/AS1 clause mandates that “external moisture must be prevented from entering the building envelope.” For decks—especially those over living spaces—this means code-compliant waterproofing is non-negotiable.

Key requirements for Auckland decks:

  • Licensed Building Practitioners: Membrane installation must be LBP-supervised.
  • BRANZ/CodeMark certification: Only use NZ-approved systems and products (see BRANZ).
  • Council consent: Required for most new builds and deck reconstructions.
  • Documentation: Keep warranties, product approvals, and photographic install records for council sign-off.

Pro Tip:

“Auckland’s roofs, decks, and gutters face intense exposure to rain, wind, and UV rays. Choosing the right membrane or coating system is vital for long-term protection.”

— (Waterproofing Guide)

The Best Waterproofing Systems for Auckland Decks

Waterproofing technology has evolved dramatically. Here are the most common and reliable options:

SystemBest ForKey Benefits
ButynolFlat/low-slope decksUV resistant, flexible, long lifespan
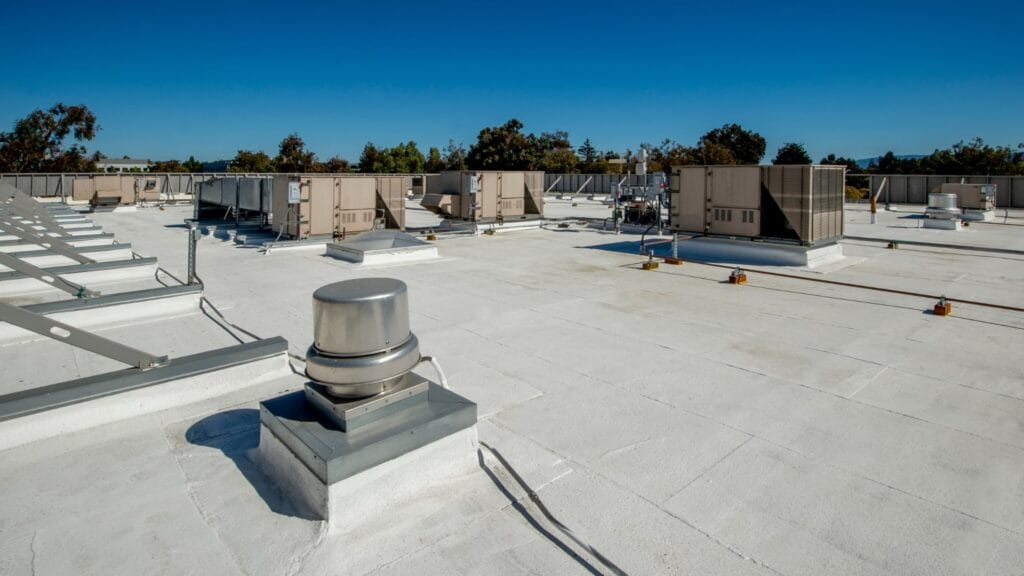
TPOLarge & complex decksEnergy saving, heat-welded, low maintenance
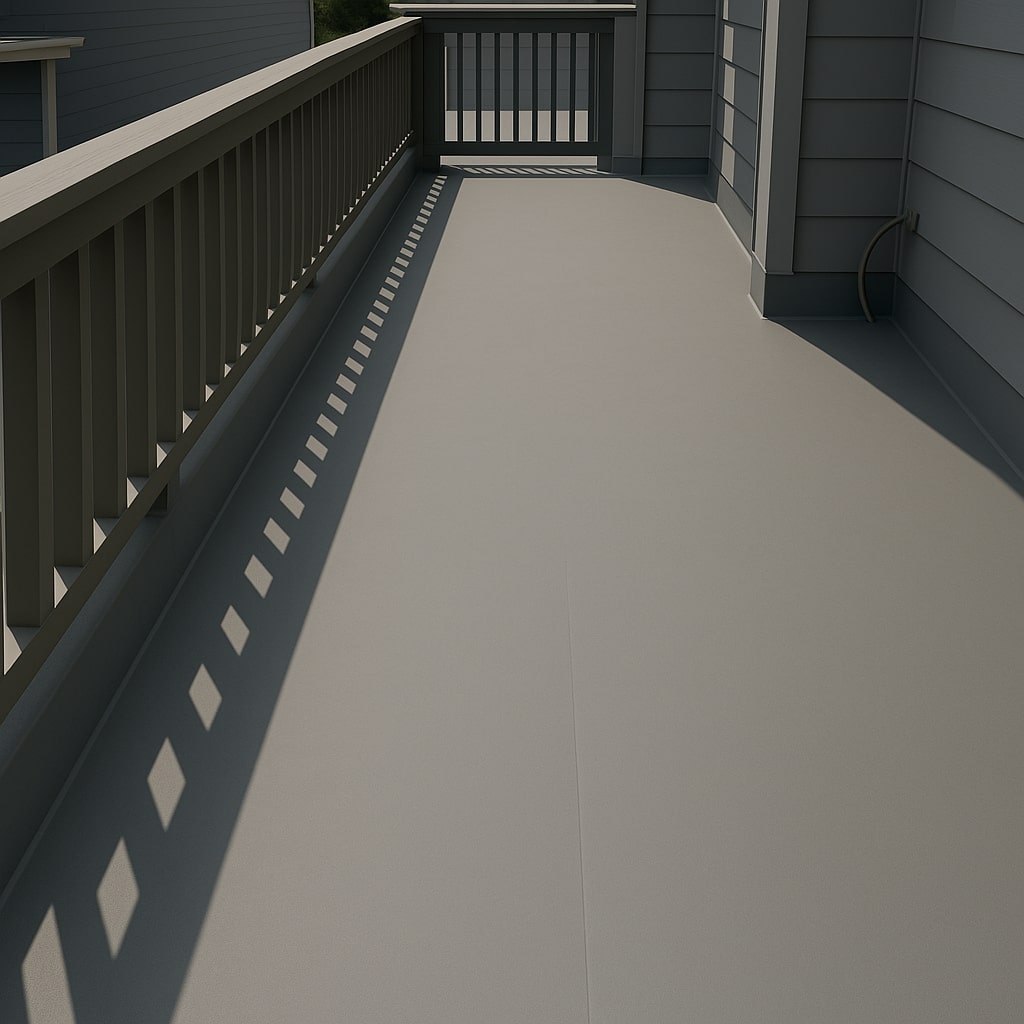
Dec-k-ingBalconies, roof decksSlip-resistant, durable, attractive finish
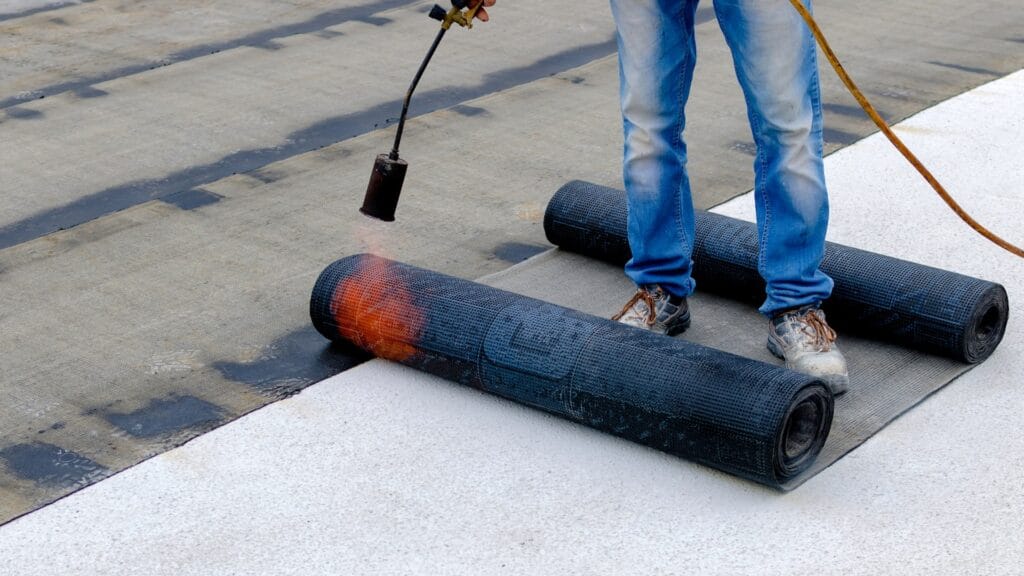
Torch-OnExposed or traffic areasHeat-applied, robust for heavy use
Liquid MembranesDeck details, repairsSeamless, adaptable, easy to repair
Butynol
  • The classic NZ choice for flat decks due to proven durability.
  • Black or light grey, fully adhered (not mechanically fixed).
  • NZ-made, BRANZ appraised.
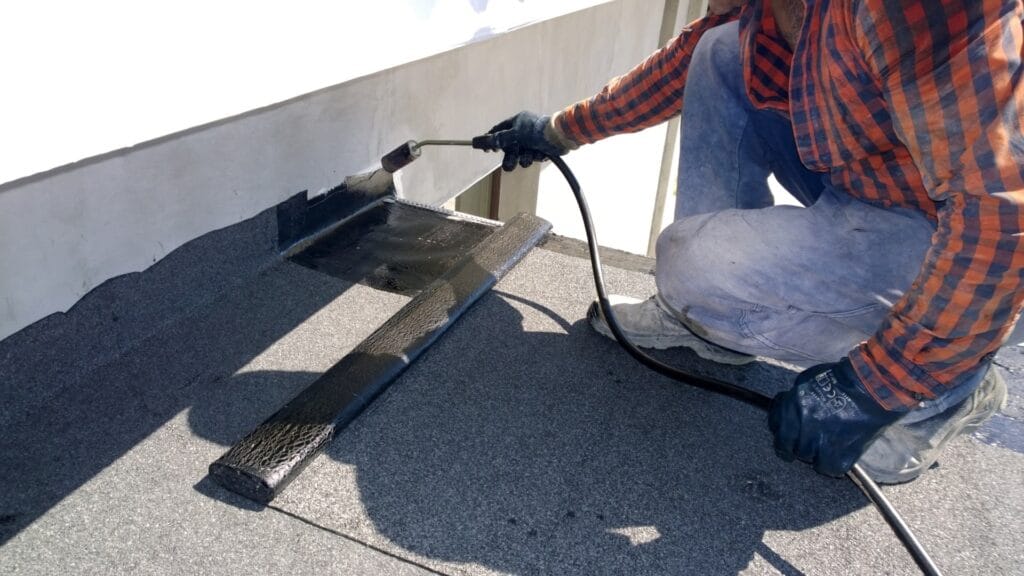
Torch-On Membrane
  • Ideal for decks with heavy traffic or complex shapes.
  • Heat-adhered, forms thick, robust floors.
  • Must be expertly installed for edges and junctions.
Dec-k-ing & TPO/PVC
  • For deck spaces that double as outdoor rooms, Dec-k-ing PVC or TPO systems are both waterproof and visually appealing.
  • Available in several designer colours.
  • “Dec-k-ing provides a stylish, slip-resistant surface for decks and balconies, combining aesthetics with waterproof performance.” (Waterproofing Guide)
Liquid Systems
  • Used for repairs, detailing, and odd-shaped decks.
  • Can be rolled or brushed on.
  • Not always suitable as a standalone system, better as a complementary approach.

The Deck Waterproofing Process, Step-by-Step

deck-before-awaterproofing
Before
TPO-deck-after
After applying Viking TPO Enviroclad

Getting it right the first time is vital—repairs are costlier than initial installs. Here’s how the process works:

  1. Inspection & Assessment
    • Check substrate; identify rot, cracks, or old membrane failure.
    • Moisture meter readings to find concealed leaks.
  2. Preparation
    • Clean, sand, and repair all surfaces.
    • Any rotten timber must be replaced.
  3. Membrane Selection
    • Chosen based on deck use, exposure level, and aesthetics.
  4. Installation
    • Qualified team lays the membrane, flashing all junctions and penetrations carefully.
    • Special focus on upstands, edge barriers, and skirtings.
  5. Quality Control
    • Visual checks, flood testing (if over habitable areas), and photo documentation for council compliance.
Mistakes to Avoid – Real-World Lessons
  • Using non-BRANZ-approved products or DIY methods risks failure and voids insurance.
  • Neglecting regular maintenance accelerates wear.
  • Skipping edge/junction detailing is the quickest way to create long-term leaks.
  • Putting tiles or timber decking directly over membrane without venting or proper supports leads to trapped moisture and rot.

Expert Quote:

“Regular inspections of vulnerable areas—decks, roof, gutters—after heavy rain are critical. Even the best systems need some care to maintain performance.”

Waterproofing Guide: Maintenance Tips

Comparing Products – Which Is Right for Your Deck?

Each deck is unique. Factors to weigh:

Deck size, exposure to wind/rain, amount of foot traffic.
Whether the deck is above a living space, uninsulated garage, or simply outdoors.
Design preferences (colour, slip resistance, hidden vs. visible seams).

Check out the full comparison in the Roof Waterproofing in Auckland post for a deeper dive.

Best Deck Design for Waterproofing Success

For new builds and renovations:

Slope the deck (minimum 1.5º as per code) for effective drainage.
Minimise penetrations through the waterproof layer—plan handrails to bolt to upstands or balustrades outside the membrane.
Use proprietary edge bars for tidy seams and longer life.
Specify compatible adhesives, trims, and over-paver supports if tiling over the membrane.

Preventative Maintenance – Protecting Your Investment

Annual inspection: Check seams, upstands, and surface for punctures or bubbling.
Clear drains and gutters: Blocked outlets cause overflow, which is a leading cause of membrane failure.
Prompt repairs: Small tears expand fast in Auckland’s climate.
Documentation: Maintain installation and warranty records for insurance and sale purposes.

“Even the best waterproofing system needs regular care. Here’s how to keep your property protected… Small issues can quickly escalate if ignored.”

Waterproofing Guide

Further reading:
Basement and Garage Waterproofing Auckland: Proven Solutions
Roof Waterproofing in Auckland: Systems, Standards & Solutions
Below Ground Tanking in Auckland: Systems, Standards & Solutions
Frequently Asked Questions
Ready to protect your deck and your home’s value?
Scroll to Top