Applicators’ Tips for Applying Membranes on Decks and Balconies
Auckland Waterproofing Experts
“A deck unprotected is a promise broken; with the right membrane, your deck becomes Auckland’s steadfast shield against every downpour.”
— Auckland Waterproofing Experts
- Applicators’ Tips for Applying Membranes on Decks and Balconies
- Applicators’ Tips for Applying Membranes on Decks and Balconies
- Why Gutters Are Your Unsung Waterproofing Heroes
- Understanding Waterproofing Membranes: What Makes Them Essential?
- Pre-Application Preparation: Setting the Stage for Success
- Product-Specific Application Tips
- Butynol Membrane: Flexible, Reliable, and Auckland-Proven
- Viking Enviroclad: The Next Generation TPO Membrane
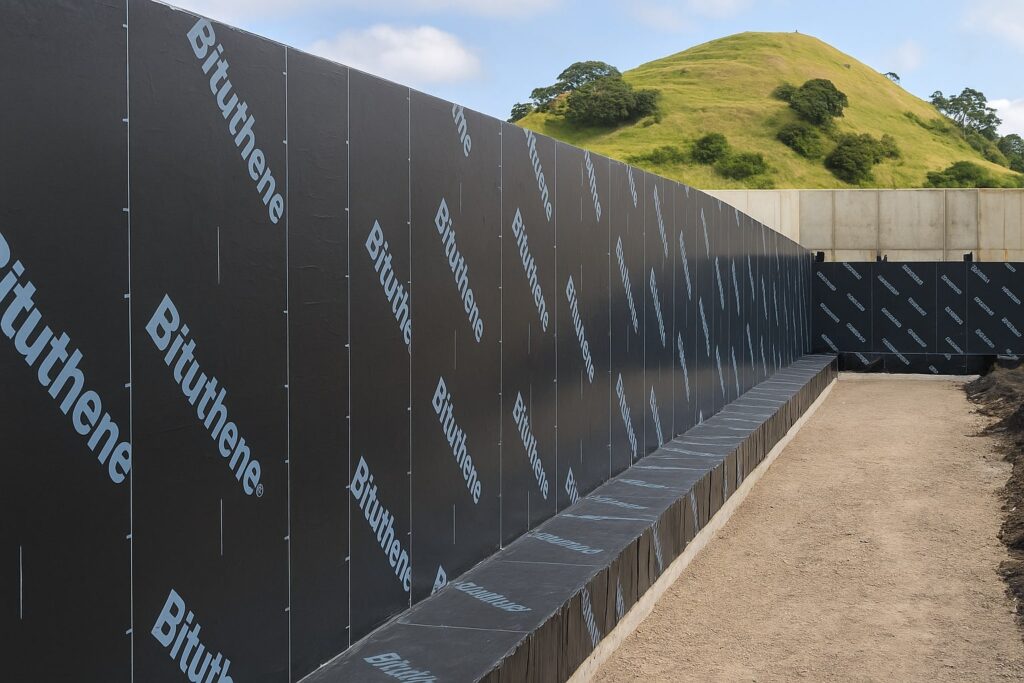
- Viking Torch-On (Bitumen): Heavy-Duty Protection
- Viking EcoStar: Sustainable and Stylish
- Viking Roof Garden and WarmSpan: For Green and Insulated Decks
- Viking Peel & Stick: Fast, Flexible, Reliable
- Common Installation Mistakes—and How to Avoid Them
- Weather and Timing: Auckland’s Unique Challenges
- Quality Assurance: Testing and Inspection
- Aftercare: Protecting Your Investment
- Why Choose Only Proven Membrane Systems?
- FAQs: Your Deck and Balcony Membrane Questions Answered
- Further Reading and Resources
- Ready to Future-Proof Your Deck or Balcony?
Applicators’ Tips for Applying Membranes on Decks and Balconies
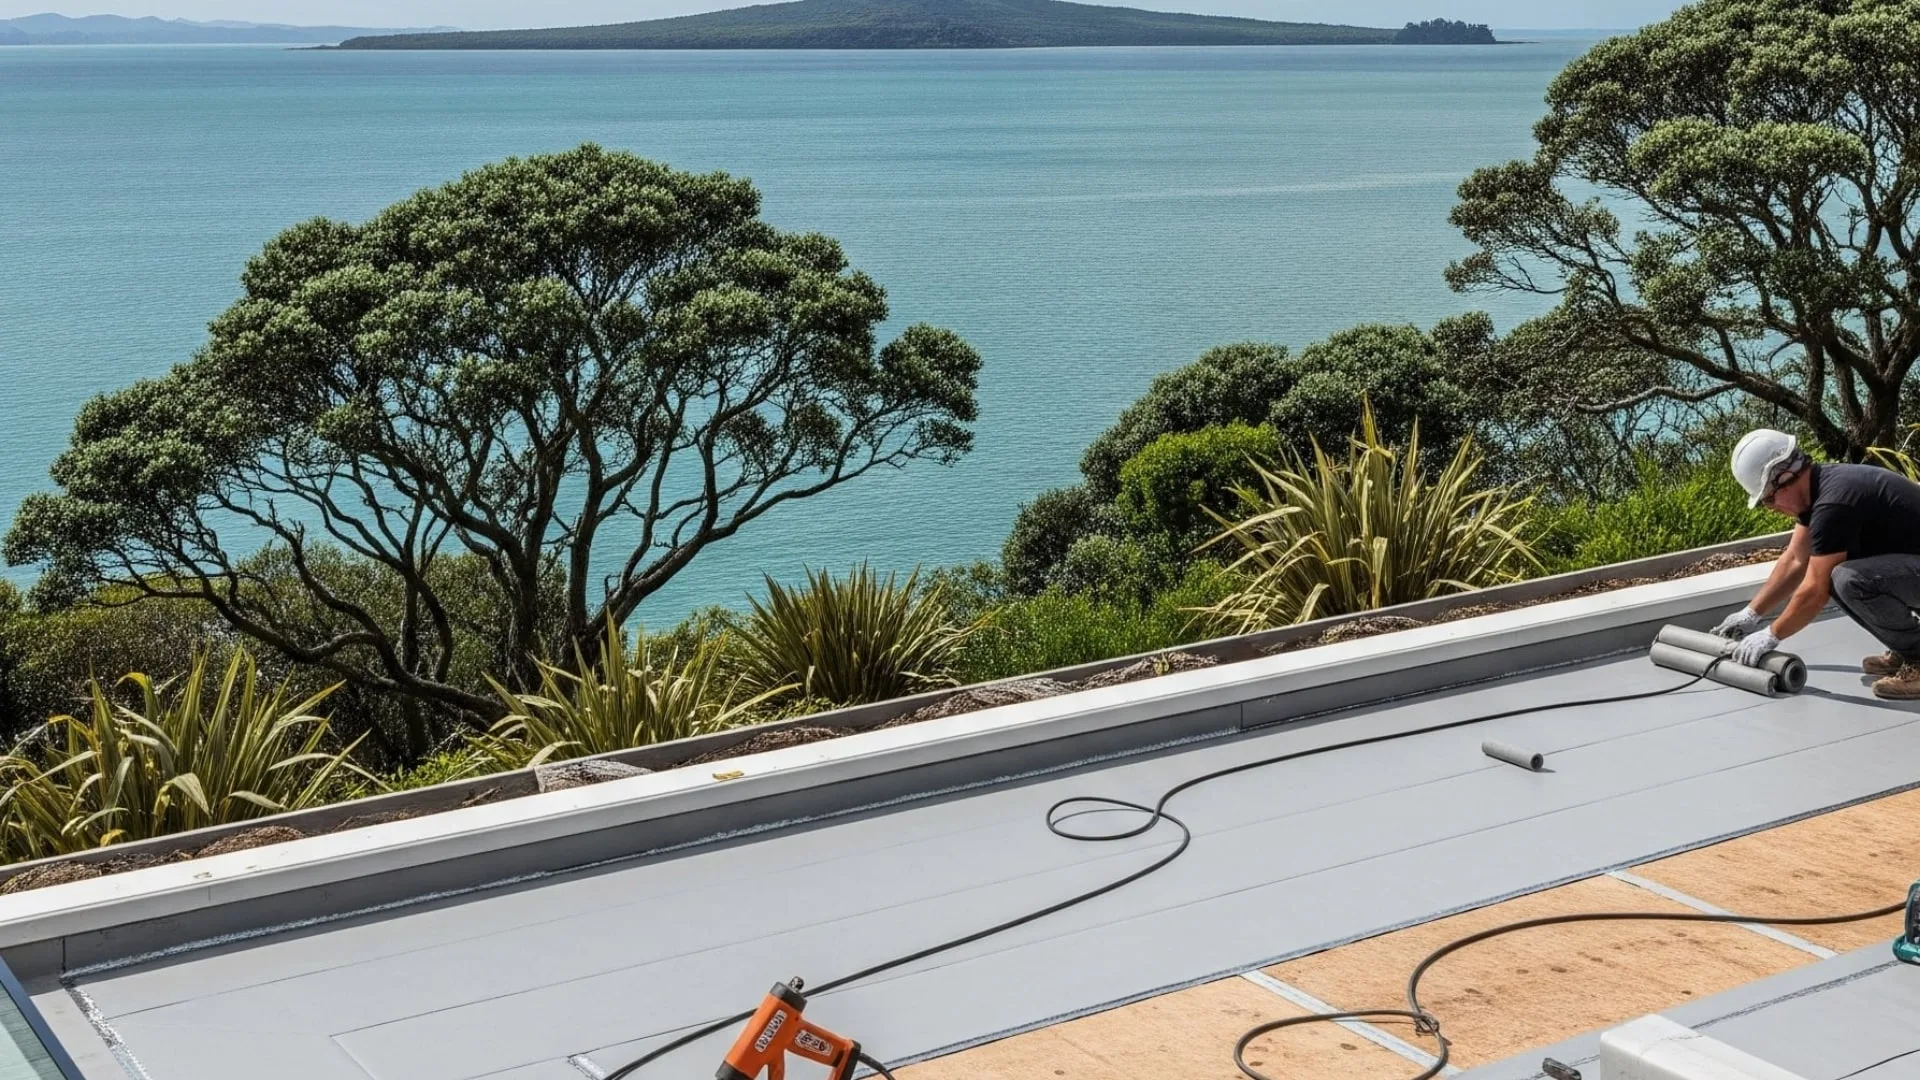
TPO Membrane
Why Gutters Are Your Unsung Waterproofing Heroes
As anyone living in Auckland knows, our city’s weather is unpredictable—sunshine one moment, torrential rain the next. For homeowners and builders, this means that decks and balconies are constantly at risk of water ingress, leading to costly repairs, structural damage, and even health risks from mould. The key to lasting protection is the correct installation of high-quality waterproofing membranes.
At Auckland Waterproofing Experts, we specialise exclusively in a curated selection of proven products, as detailed in our technical data sheets. In this comprehensive guide, I’ll share the professional tips, best practices, and insider knowledge that ensure every membrane installation stands up to Auckland’s unique climate and construction standards.
Understanding Waterproofing Membranes: What Makes Them Essential?
Decks and balconies are exposed surfaces, often with minimal slope and complex junctions. Without robust waterproofing, these areas are prime candidates for leaks. Membranes act as a continuous barrier, preventing moisture from penetrating the structure. But not all membranes are created equal. The products we install have been selected for their proven performance in New Zealand conditions, their compliance with NZ Building Code, and their compatibility with typical Auckland construction methods.
Membrane Types We Trust and Install
- Butynol Membrane: Renowned for its flexibility, UV resistance, and longevity, Butynol is a synthetic rubber membrane ideal for decks and balconies.
- Viking Enviroclad: A TPO (thermoplastic polyolefin) membrane, Enviroclad offers high reflectivity, heat weldability, and robust weather resistance.
- Viking Torch-On (Bitumen): A dual-layer, torch-applied bitumen membrane system, perfect for high-traffic decks requiring extra durability.
- Viking EcoStar: Made from recycled rubber and plastics, EcoStar is a sustainable membrane option for eco-conscious projects.
- Viking Roof Garden: Specialised for green roofs and garden decks, this system supports plant growth while protecting underlying structures.
- Viking WarmSpan: An integrated warm roof system combining insulation and waterproofing for superior thermal performance.
- Viking Peel & Stick: A self-adhesive membrane ideal for tricky detailing and rapid installation.
Each product has its own application nuances, which I’ll cover in detail below. For a full list of products and their technical data, visit our technical data sheets page.
Pre-Application Preparation: Setting the Stage for Success
1. Substrate Assessment and Preparation
Every successful membrane installation starts with a sound substrate. Whether you’re working on ply, concrete, or another approved surface, it must be:
- Clean: Remove dust, debris, oil, or any contaminants that could prevent adhesion.
- Dry: Moisture in the substrate can cause membrane failure. Use moisture meters if necessary, especially after Auckland’s wet spells.
- Structurally Sound: Replace rotten timber, repair cracks, and ensure all fixings are flush and secure. For timber substrates, ensure all sheets are fixed at recommended centres and expansion gaps are correct.
- Smooth and Even: Sand down high spots, fill low spots, and ensure falls direct water to outlets (minimum 1:40 fall is recommended).
2. Detailing: The Devil’s in the Junctions
Most leaks occur at junctions—corners, upstands, penetrations, and drains. Meticulous detailing here is the hallmark of a professional installation:
- Upstands: Run the membrane at least 150mm up adjacent walls or balustrades.
- Scuppers and Outlets: Use proprietary outlets compatible with the membrane system. Prime and reinforce around outlets with additional membrane layers.
- Penetrations: Pipes, balustrade posts, and other penetrations must be flashed with pre-formed collars or custom detailing as per the product’s data sheet.
Product-Specific Application Tips
Butynol Membrane: Flexible, Reliable, and Auckland-Proven
Butynol has been a staple in New Zealand waterproofing for decades. Its flexibility and UV resistance make it ideal for exposed decks and balconies.
- Primer: Always prime the substrate with the recommended primer for maximum adhesion.
- Sheet Layout: Plan your sheet layout to minimise seams in traffic areas. Overlap sheets by at least 50mm.
- Seam Welding: Use a hot air gun to weld seams, ensuring a continuous, watertight join. Test welds as you go.
- Edge Detailing: Terminate edges with proprietary flashings or barge trims. Seal all terminations with compatible sealant.
- Protection: If the deck will be tiled or overlaid, install a suitable protection layer to prevent membrane damage.
For more Butynol application details, refer to our Butynol data sheet.
Viking Enviroclad: The Next Generation TPO Membrane
Enviroclad is a heat-weldable, single-ply membrane offering excellent durability and reflectivity.
- Substrate: Suitable for concrete and ply. Ensure the substrate is primed and fastened as per manufacturer’s guidelines.
- Sheet Handling: Avoid stretching or creasing the membrane during installation.
- Heat Welding: Overlaps are welded with a hot air welder. Always check weld temperature and speed for a consistent bond.
- Inspection: Probe all seams after welding to confirm watertightness.
- Finishing: Use proprietary flashings and sealants at terminations and penetrations.
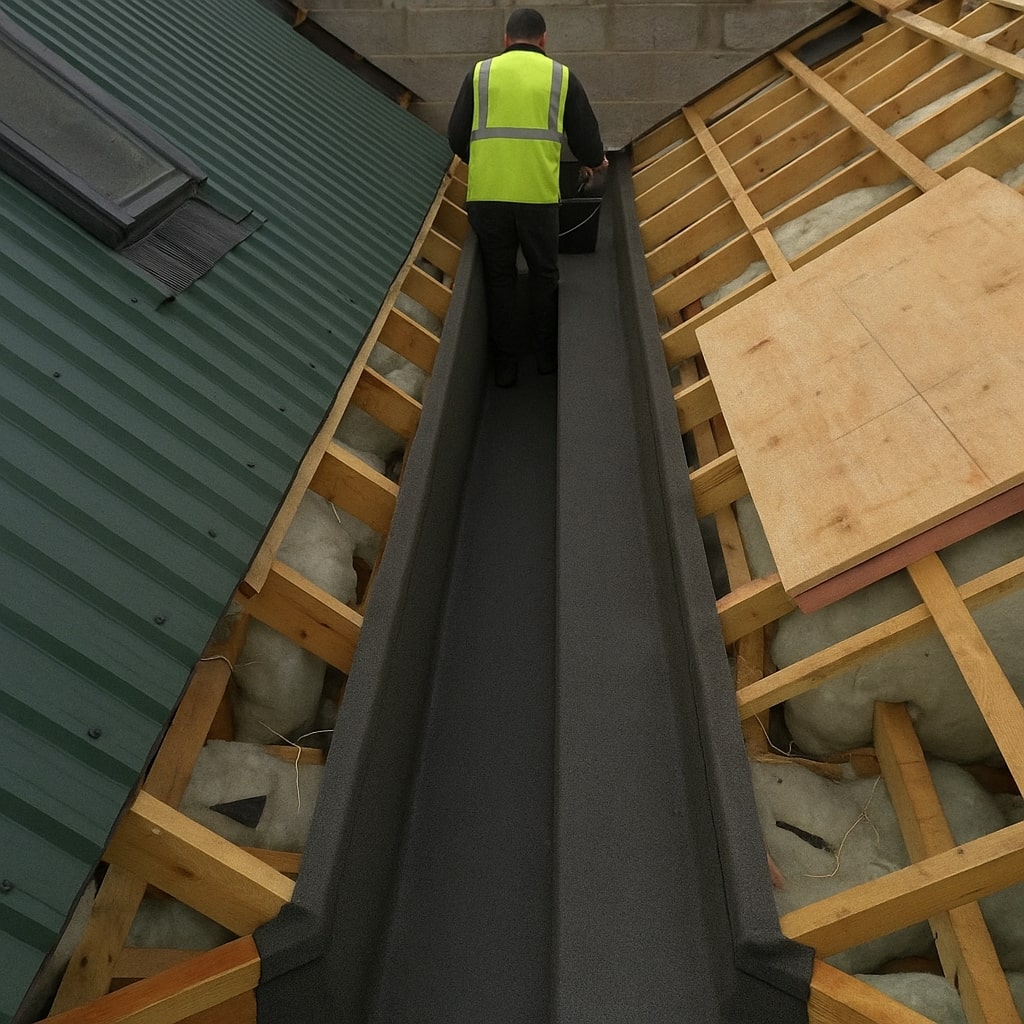
Viking Torch-On (Bitumen): Heavy-Duty Protection
Torch-on membranes are ideal for decks with high foot traffic or where additional durability is required.
- Primer: Apply bitumen primer to all surfaces and allow to dry thoroughly.
- Base and Cap Sheets: Install the base sheet first, torching it to the substrate. Follow with the cap sheet, offsetting laps for maximum integrity.
- Seam Overlaps: Maintain at least 100mm side laps and 150mm end laps. Ensure full bitumen bleed-out at all laps.
- Detailing: Reinforce upstands, outlets, and penetrations with additional membrane layers as per the data sheet.
- Protection: For exposed decks, consider a mineral chip finish or install a protection layer before overlaying tiles or pavers.
For step-by-step instructions, consult our Torch-On membrane data sheet.
Viking EcoStar: Sustainable and Stylish
EcoStar membranes combine recycled content with a slate-like finish for a unique look and robust waterproofing.
- Substrate: Ensure the substrate is compatible as per the EcoStar technical data sheet.
- Adhesive Application: Use the recommended adhesive, applied evenly for a bubble-free finish.
- Seam Sealing: Overlap and seal seams as specified, using proprietary tapes or adhesives.
- Finishing Touches: Install matching trims and flashings for a seamless appearance.
Viking Roof Garden and WarmSpan: For Green and Insulated Decks
For decks that double as gardens or require extra insulation, these systems integrate waterproofing with drainage and thermal layers.
- Layering: Install the membrane, followed by protection boards, drainage mats, and growing media or insulation as per the system specification.
- Edge Detailing: Provide robust upstands and edge restraints to prevent soil or insulation migration.
- Access Points: Ensure inspection ports and outlets remain accessible for maintenance.
Discover the possibilities of green decks in our green roofs.
Viking Peel & Stick: Fast, Flexible, Reliable
Perfect for smaller decks, tricky details, or rapid installations, Peel & Stick offers ease without sacrificing performance.
- Surface Preparation: Absolutely clean and dry is non-negotiable for self-adhesive membranes.
- Alignment: Plan your sheet layout before peeling the backing—once it sticks, it’s hard to reposition.
- Pressure: Use a roller to firmly press the membrane into place, eliminating air pockets.
- Sealing: Overlap and seal all seams as per the data sheet, and use compatible sealants at terminations.
Common Installation Mistakes—and How to Avoid Them
Even the best products can fail if not installed correctly. Here are the pitfalls I see most often, and how to avoid them:
- Inadequate Substrate Preparation: Skipping cleaning or ignoring moisture leads to adhesion failure and blisters.
- Poor Detailing: Rushed or sloppy work at upstands, drains, and penetrations is the most common cause of leaks.
- Incorrect Overlaps or Welding: Not following the specified overlap widths or failing to achieve full welds results in weak points.
- Applying in the Wrong Weather: Membranes should never be installed in rain or when substrate temperatures are too low or too high—always check the product’s data sheet for the recommended range.
- Neglecting Protection Layers: Traffic, furniture, or overlays can damage membranes if not properly protected.
For more on avoiding waterproofing failures, the best advice would be follow manufacturer’s guides, details and documents.
Weather and Timing: Auckland’s Unique Challenges
Our climate presents special challenges for membrane application. Here’s how to plan for success:
- Monitor the Forecast: Aim for several dry days to allow for substrate drying, membrane curing, and detailing.
- Time of Day: Avoid working in the hottest part of the day, as some adhesives and membranes can become difficult to handle.
- Humidity: High humidity can slow curing and affect adhesion—use fans or dehumidifiers if necessary for internal areas.
- Seasonal Planning: Schedule major deck and balcony projects for late spring or early autumn for the most predictable weather.
Quality Assurance: Testing and Inspection
Before a membrane is covered or overlaid, thorough inspection is essential. Here’s our process:
- Visual Inspection: Check for bubbles, wrinkles, missed welds, or incomplete coverage.
- Seam Testing: Use a seam probe or pull test to confirm weld strength and watertightness.
- Flood Testing: Where possible, temporarily dam outlets and flood the area to check for leaks. Only attempt this if the structure can handle the weight and the membrane is fully cured.
- Documentation: Take photos and fill out a checklist for your records and warranty validation.
We stand behind every installation with a comprehensive warranty, provided all steps are followed and documented.
Aftercare: Protecting Your Investment
Even the best membrane needs some basic care to last its full lifespan:
- Regular Inspections: Check your deck or balcony at least twice a year, especially after storms.
- Keep Drains Clear: Blocked outlets can cause ponding and increase the risk of leaks.
- Avoid Sharp Objects: Don’t drag furniture or heavy planters across the membrane surface.
- Prompt Repairs: If you spot any damage or suspect a leak, contact a professional immediately to prevent further issues.
For ongoing maintenance tips, see our complete guide.
Why Choose Only Proven Membrane Systems?
There are countless waterproofing products on the market, but not all are suited to New Zealand’s climate or building standards. We exclusively install systems that:
- Have a proven track record in Auckland conditions
- Are backed by robust technical support and warranties
- Comply with NZ Building Code and Council requirements
- Are installed by trained, certified applicators
This commitment means peace of mind for our clients—no guesswork, no risky shortcuts, and no untested products.
FAQs: Your Deck and Balcony Membrane Questions Answered
Further Reading and Resources
- Roof Waterproofing in Auckland
- Flat Roof Waterproofing Best Practices
- NZ Building Code: Internal Moisture
- Viking Roofspec Technical Resources
Ready to Future-Proof Your Deck or Balcony?
If you’re planning a new deck or balcony, or need to upgrade an existing one, don’t leave waterproofing to chance. Get in touch with Auckland Waterproofing Experts for a site-specific assessment and a tailored solution using the industry’s most trusted membrane systems.
Your deck deserves to stand strong, dry, and beautiful—no matter what Auckland’s weather brings. Contact us today and let’s get your project started right.
“From a local expert’s point of view: Investing in premium waterproofing early stops leaks, rot, and costly repairs later. Plus, industry-leading membranes offer peace of mind and property value—so you’ll sleep soundly, whatever the weather throws at you.”
– Auckland Waterproofing Experts