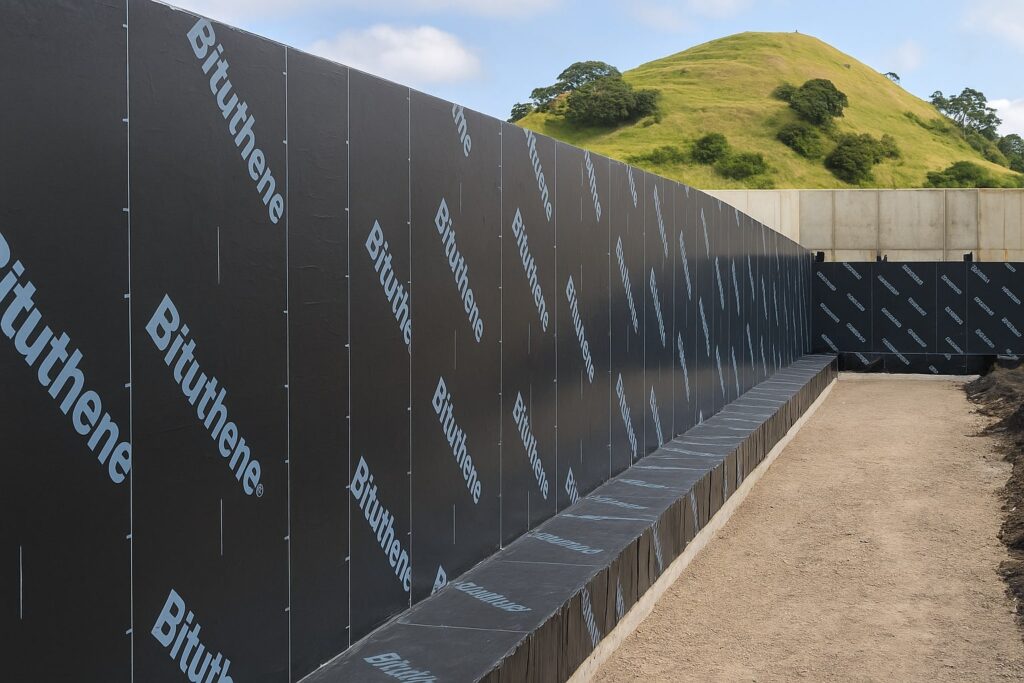
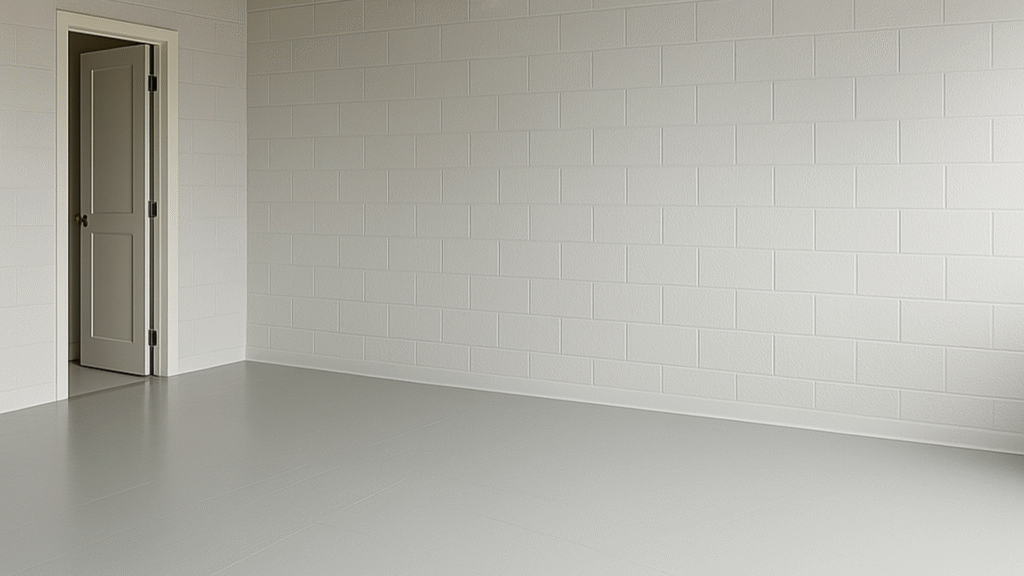
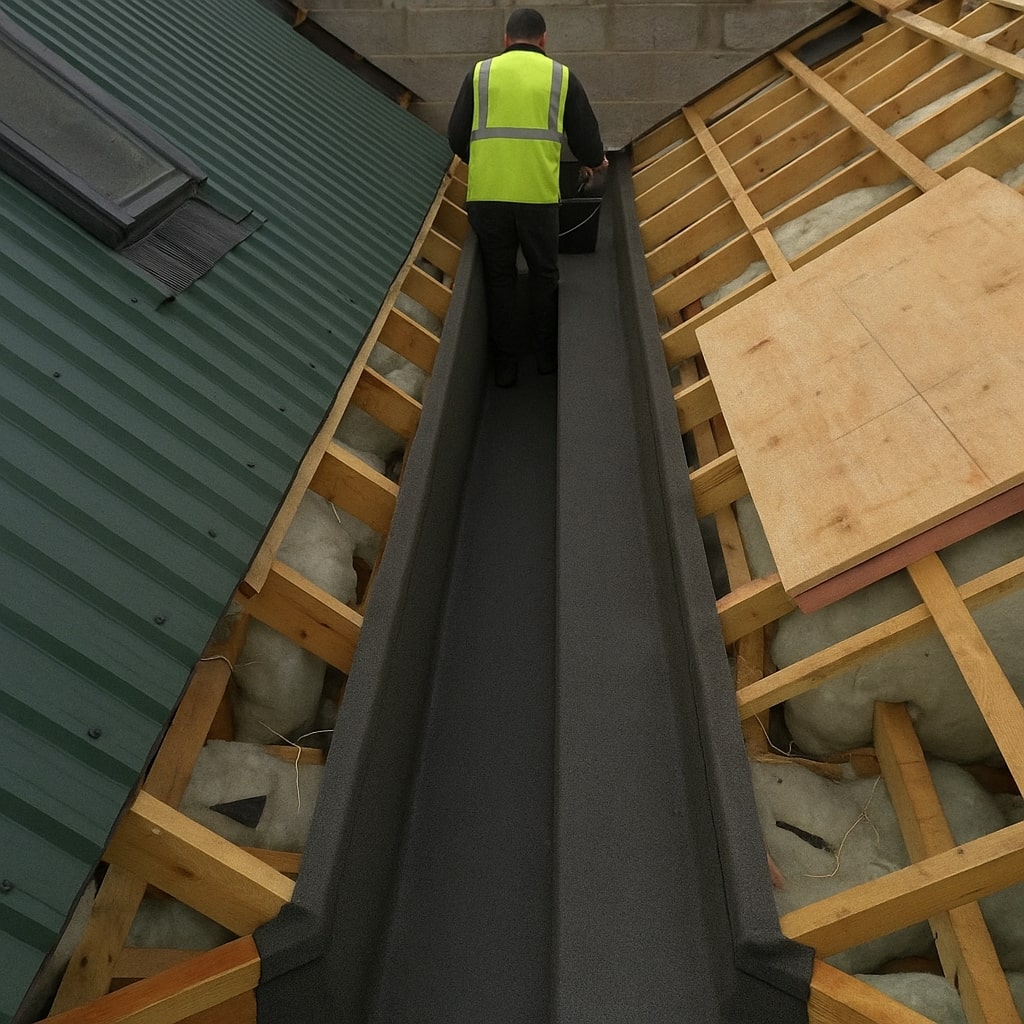
Complete Guide to Basement Wall Waterproofing: Professional Leak Repair with Mapei Solutions
Auckland Waterproofing Experts
- Understanding Your Leaking Basement Wall
- Step 1: Surface Preparation and Safety
- Step 2: Stopping Active Leaks with Mapei Lamposilex
- Step 3: Complete Waterproofing with Planiseal MR
- Joint Treatment with Reinforcement Tape
- Floor Application and Coverage
- Protecting the Coating from Foot Traffic
- DIY vs Professional Installation
- Product Warranties and Workmanship Guarantee
- Conclusion
Understanding Your Leaking Basement Wall
Common Causes of Basement Wall Leaks in Auckland
Auckland’s basement walls face constant pressure from multiple sources. Heavy rainfall combined with poor drainage systems creates hydrostatic pressure that forces water through even the smallest cracks in concrete or masonry. The region’s mixed soil types—ranging from marine clays to volcanic soils—can shift and swell, creating additional stress on basement structures. Block walls are particularly vulnerable, as water can seep through mortar joints and the porous nature of the blocks themselves.
Common signs of basement water problems include damp patches on walls, efflorescence (white salt deposits), musty odours, visible mould growth, and in severe cases, active water flowing through cracks or joints. These issues don’t resolve themselves—they require proper assessment and systematic waterproofing to prevent long-term structural damage.
Why Professional Waterproofing Matters
A leaking basement affects far more than just the underground space. Persistent moisture encourages black mould growth, which poses serious health risks to occupants. Water intrusion damages insulation, electrical systems, stored belongings, and can compromise the structural elements of your home. For Auckland homeowners, addressing basement leaks with proper waterproofing systems protects your investment and creates additional usable, healthy living space.
Step 1: Surface Preparation and Safety
Essential Safety Equipment Required
Before beginning any basement waterproofing work, proper personal protective equipment (PPE) is non-negotiable. The products used in professional waterproofing contain cementitious materials and epoxy resins that require appropriate protection.
Required Safety Equipment:
- Chemical-resistant gloves (nitrile or butyl rubber) to prevent skin contact with alkaline materials and epoxy components
- Safety goggles or full face shield to protect eyes from splashes and dust during mixing and application
- Respiratory protection with appropriate filters for dust and chemical vapours, especially when grinding, mixing, or working in confined spaces
- Protective coveralls or long-sleeved clothing to prevent skin exposure to cement-based products
- Chemical-resistant boots with good grip for working on damp basement floors
- Knee pads for floor work and joint treatment
Working with cementitious products like Lamposilex and epoxy-based systems like Planiseal MR requires vigilance. Lamposilex has a pH of 12.8, making it highly alkaline. Planiseal MR, while water-based and solvent-free, is still an epoxy resin system that requires skin and respiratory protection during mixing and application. Even in well-ventilated spaces, wearing proper PPE protects against both immediate irritation and long-term health effects.

Substrate Preparation Process
Proper substrate preparation is the foundation of successful basement waterproofing. The concrete or masonry surface must be sound, clean, and free from any contaminants that could compromise bonding.
Step-by-Step Substrate Preparation:
- Remove all loose material by brushing, scraping, or using compressed air to blow away dust and debris
- Eliminate oil, grease, and old coatings by washing with appropriate cleaning solutions or steam cleaning
- Address any mould growth by thoroughly cleaning affected areas with detergent or specialised mould remover
- Grind or mechanically prepare severely contaminated surfaces to expose clean concrete
- Remove standing water but leave the surface damp, as Planiseal MR can be applied to damp (but not wet) substrates
The substrate must be structurally sound. If the concrete is crumbling, poorly bonded, or significantly deteriorated, repairs must be completed before waterproofing begins. This may involve removing damaged concrete sections and patching with appropriate repair mortars.
“A watertight finish starts with the groundwork. With 20+ years in Auckland waterproofing, we say: perfect prep is the secret behind every leak-free legacy.”
Auckland Waterproofing Experts
Cleaning and Assessment
Once the initial cleaning is complete, conduct a thorough assessment of all cracks, joints, and potential water entry points. Mark active leaks clearly, as these will need immediate attention with Lamposilex before applying Planiseal MR. Identify all wall-to-floor joints, wall-to-wall corners, pipe penetrations, and any cold joints in the concrete—these areas require special treatment with reinforcement tape.
Ensure adequate lighting in the basement to identify all problem areas. Document the condition with photographs before beginning work, which serves both as a reference during the job and as evidence of the transformation for future property records.
Step 2: Stopping Active Leaks with Mapei Lamposilex
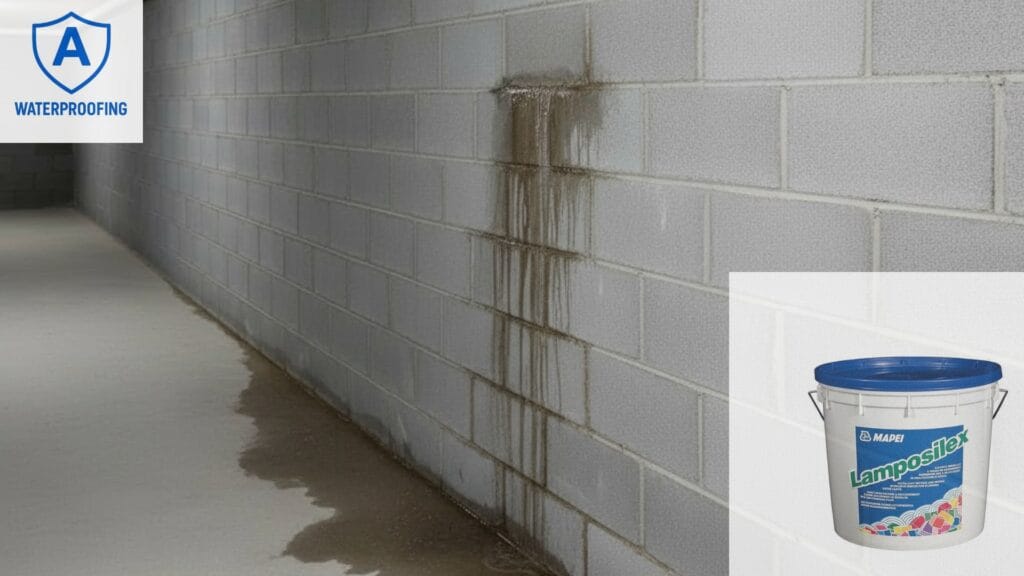
What is Lamposilex?
Mapei Lamposilex is a specialist rapid-setting hydraulic binder specifically engineered to stop active water leaks, even under pressure. This pre-blended powder binder combines high-strength cements with special admixtures formulated in Mapei’s research laboratories to create an expanding plug that mechanically seals water ingress points.
The product is ideal for basement applications where water is actively flowing through cracks, holes, or joints. Unlike standard repair mortars that simply fill voids, Lamposilex expands slightly as it cures, creating a tight mechanical seal against water pressure. It contains no chlorides, making it safe for reinforced concrete structures.
Technical Specifications
Understanding Lamposilex’s technical properties helps ensure proper application:
Physical Properties:
- Form: Fine grey powder
- Bulk density: 1,100 kg/m³
- Dry solids content: 100%
- Setting time: Approximately 1.5 minutes at +20°C (pot life approximately 1 minute)
- Minimum application temperature: +5°C
Mix Ratio:
- By weight: 100g Lamposilex to 28g water
- By volume: 2.5 parts Lamposilex to 1 part water
- Coverage: Approximately 1.8 kg per litre of cavity to be filled
Strength Development:
After proper mixing at 28% water content, Lamposilex develops impressive strength rapidly:
- Flexural strength: 3 N/mm² after 30 minutes, increasing to 9 N/mm² after 28 days
- Compressive strength: 17 N/mm² after 30 minutes, reaching 46 N/mm² after 28 days
This rapid strength development is crucial for basement applications, as it means the leak is stopped within minutes, and the repair can withstand water pressure almost immediately.
Crack Enlargement and Preparation
For Lamposilex to work effectively, cracks must be properly prepared. This is one of the most important steps that distinguishes professional work from DIY attempts.
- Enlarge the crack or hole using a hammer drill with an appropriate masonry bit. The opening should be cut in a dovetail shape (wider on the inside than the outside)
- Minimum dimensions: The external opening should be approximately 20mm wide and 20mm deep
- Create an inverted “V” shape where the base of the crack inside the wall is wider than the surface opening—this mechanical key helps lock the Lamposilex in place
- Remove all loose material from the cavity using a brush, compressed air, or a wet/dry vacuum
- For through-thickness cracks where material might flow through to the other side, temporarily block the opposite end with putty or temporary sealant
When dealing with multiple leak points, always start at the highest point and work downwards. This progressively reduces the hydrostatic pressure above as each leak is sealed.
Mixing Lamposilex Correctly
Lamposilex’s extremely fast setting time means mixing must be quick and accurate. Only mix the amount that can be applied within one minute.
- Measure accurately: Use 100g Lamposilex to 28g water by weight, or 2.5 parts powder to 1 part water by volume
- Pour water into a clean container first, then add the Lamposilex powder while stirring continuously
- Mix manually with a trowel until you achieve a smooth, lump-free paste with a plastic-thixotropic consistency
- Do not add lime, cement, gypsum, or any other materials to the mix
- Do not retemper once the mix begins to stiffen
Temperature Considerations:
- Standard conditions (+20°C): No special measures required
- Hot weather: Keep powder shaded, avoid sun-warmed containers, use cold mixing water to extend working time
- Cold conditions: Use water at approximately +20°C, store material in a heated area (note: setting and curing are delayed at low temperatures)
Application Technique for Stopping Leaks
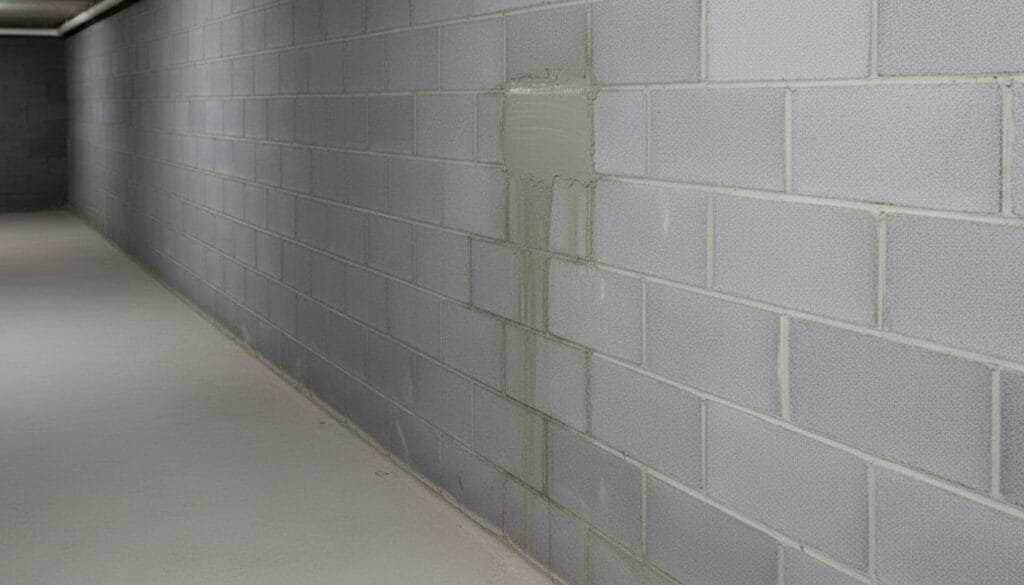
The application of Lamposilex requires confidence and speed, as you’re working against a 1-2 minute window before the material sets.
- Mould the fresh Lamposilex mix into a tapered plug shape resembling a cork
- Wait a few seconds until you feel the mix begin to warm and thicken slightly in your gloved hand
- Press the plug firmly into the crack or hole, working against the water flow and ensuring full contact with the dovetailed sides of the cavity
- Apply steady pressure for 2-3 minutes until the material has fully set and the water flow has stopped
- Hold firmly—do not release pressure too early, as the expanding nature of the product needs time to develop its mechanical seal
- Once set, trim any excess material flush with the wall surface using an abrasive wheel or sanding disc
For particularly aggressive leaks with high water pressure, you may need to shape the plug larger than the cavity opening and force it in with significant pressure. The material will compress slightly and then expand to fill and seal the space.
Important: Keep the sealed area damp for the first 15-20 minutes to ensure proper curing of the cementitious material.
“With this product, you don’t get a second chance—swift action is the expert’s advantage, because it sets in an instant.”
Auckland Waterproofing Experts
Step 3: Complete Waterproofing with Planiseal MR
What is Planiseal MR?
Planiseal MR is a versatile two-component water-based epoxy resin coating designed specifically as a primer and moisture barrier for mineral substrates. Unlike traditional waterproofing membranes that require completely dry surfaces, Planiseal MR‘s unique formulation allows application directly over damp surfaces and even freshly placed “green” concrete.
This product serves multiple functions in basement waterproofing. It acts as a moisture vapour barrier, prevents efflorescence (salt migration), provides excellent adhesion even on damp concrete, and exhibits outstanding resistance to both positive and negative hydrostatic pressure. Positive pressure refers to water pushing from the wet side (outside) toward the dry side, while negative pressure occurs when water is on the opposite side of the application.
For basement walls, Planiseal MR creates a waterproof barrier that prevents moisture transmission while allowing subsequent coatings, adhesives, or finishes to be applied once cured.
Technical Specifications and Benefits
- Form: Liquid (two-component system)
- Colour: Light grey (semi-gloss when dry, matt when aged)
- Mix ratio: 1:1 by volume (Part A + Part B)
- Pot life: 1-2 hours after mixing
- Application temperature range: +10°C to +35°C
- Wet film thickness: 300-400 microns (0.3-0.4mm) per coat
- Volume solids: 48%
- Adhesion to concrete: >1.00 N/mm² (ASTM 4541)
- Water vapour transmission: <10 g/m²/24hr with 2 coats at 300 micron dry film thickness (exceeds AS 1884 requirements)
- Hydrostatic pressure resistance: Excellent in both positive and negative situations
- Drying time (at 23°C, 50% RH):
- Recoat: 2-4 hours
- Apply finishes over: 24 hours minimum
- Full cure: 7 days
- Can be applied to damp substrates (surface water must be removed, but substrate can be damp)
- Excellent adhesion even on damp concrete
- Solvent-free and odourless, making it safer for enclosed basement spaces
- Compatible with subsequent Mapei membranes, adhesives, levelling compounds, and coatings
- Easy cleanup with water while fresh
Joint Treatment with Reinforcement Tape
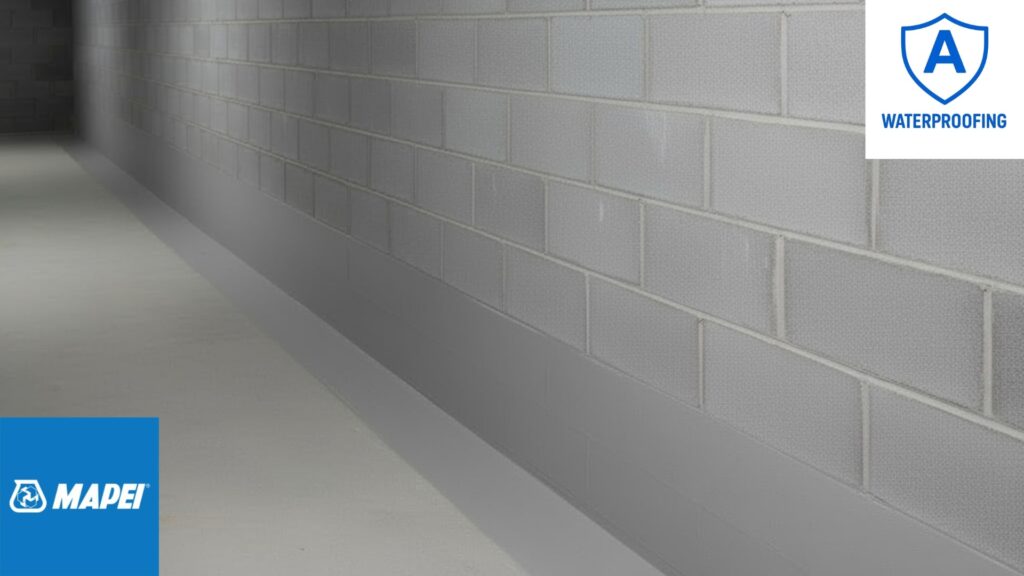
Before applying Planiseal MR to the main wall and floor surfaces, all joints, corners, and cracks require special treatment with reinforcement tape. This critical step prevents future cracking at stress points and ensures a continuous waterproof barrier.
Areas Requiring Tape Reinforcement:
- Wall-to-floor joints (the cove area where the wall meets the floor)
- Wall-to-wall corners (internal corners)
- Pipe penetrations
- Previously repaired cracks
- Cold joints in concrete construction
- Any areas subject to slight movement
Recommended Tape:
Use Mapei Mapeband Easy or similar alkali-resistant reinforcement tape. Mapeband Easy features a central core of waterproof elastic rubber sandwiched between two layers of non-woven polypropylene fabric. The tape is highly elastic (elongation at failure exceeding 300%) and features holes along the edges to improve wetting with the waterproofing product.
Joint Treatment Procedure:
- Apply first coat of Planiseal MR to the joint area at a thickness of approximately 1mm, extending about 70mm to each side of the joint
- While the first coat is still wet, position the reinforcement tape over the joint, ensuring it’s centred
- Press the tape firmly into the fresh Planiseal MR using a smooth trowel or roller, ensuring the waterproofing product wets both sides of the tape, including the rubber core, for a width of several millimetres
- Smooth out any air bubbles and ensure complete contact between tape and coating
- Allow the first coat to dry (2-4 hours at 23°C)
- Apply second coat of Planiseal MR over the tape and surrounding area, ensuring the tape is completely encapsulated with at least 1mm of coating on top
- This three-layer system (Planiseal MR / Mapeband Easy / Planiseal MR) creates a reinforced, elastic waterproof joint that can accommodate minor structural movement without compromising the waterproof barrier.
Mixing and Application of Planiseal MR
Proper mixing is essential for Planiseal MR to perform as designed. The two components must be thoroughly combined to ensure complete curing and optimal waterproofing properties.
Mixing Procedure:
- Lightly stir both Part A and Part B separately in their containers to ensure homogeneous consistency before mixing begins
- Measure equal parts by volume of Part A and Part B into a clean mixing container
- Mix using an electric stirrer with an appropriate paddle attachment at low speed for approximately 3 minutes
- Ensure thorough mixing—the two components must be completely combined with no streaks remaining
- Allow the mixed product to stand for 5-10 minutes before use
- Only mix the amount that can be used within the 1-2 hour pot life
Important Preparation Notes:
- First coat dilution: Based on surface porosity, the first coat may be diluted with water—5% dilution for porous surfaces, up to 10% for denser surfaces. All subsequent coats must be applied neat (undiluted)
- Surface condition: Can be applied to damp surfaces but NOT over standing water. Remove all surface water before application
- Active leaks: Ensure any flowing water has been stopped with Lamposilex and that no surface water is visible before applying Planiseal MR
Application Method:
- Apply using a long-haired roller or brush in even strokes
- First coat thickness: 0.3-0.4mm wet film thickness (300-400 microns)
- Coverage rate: Approximately 300-400ml per square metre per coat
- Allow first coat to dry: 2-4 hours at 23°C before applying second coat
- Apply second coat diagonally to the first coat direction for better coverage and to catch any missed areas
- Minimum total coverage: Two coats are recommended for moisture barrier applications, achieving approximately 600-800ml/m² total
Floor Application and Coverage
The basement floor requires the same systematic waterproofing treatment as the walls. Many basement moisture problems occur when only walls are treated but the floor-to-wall junction and floor slab are neglected.
Floor Application and Coverage
Floor Waterproofing Procedure:
- Ensure floor surface preparation is complete—clean, sound, and free from laitance, dust, oils, or other contaminants
- Treat the wall-to-floor junction first with tape reinforcement as described above
- Apply first coat of Planiseal MR to the floor using a long-handled roller, working from the furthest corner toward the exit
- Maintain wet film thickness of 300-400 microns—avoid applying too thin or pooling
- Allow 2-4 hours drying time (may be longer in cool or humid conditions)
- Apply second coat in a diagonal pattern to the first coat
- For levelling compounds or adhesives: Consider sand-casting the second coat while still wet to provide mechanical key for subsequent toppings
Sand-Casting Technique (if finishing with tiles or levelling compound):
If you plan to install tiles, levelling compounds, or screeds over the Planiseal MR, sand-casting the second coat improves bonding of subsequent materials:
- Apply the second coat of Planiseal MR
- While still wet, broadcast clean, dry sand evenly over the surface
- Allow to cure fully
- Remove all loose sand before applying subsequent products
Alternatively, between 24-72 hours after applying Planiseal MR, you can prime with Eco Prim T Plus, then apply a Mapei levelling compound 3-10mm thick.
Protecting the Coating from Foot Traffic
This is a crucial detail often overlooked in DIY applications. Planiseal MR, while forming a hard, non-sticky coating, is designed for light foot traffic only. During the curing period and throughout any subsequent construction work, the coating must be protected from abrasion and damage.
Protection Requirements:
- Planiseal MR is suitable for light foot traffic but must be protected from abrasion caused by heavier traffic, construction activity, or equipment movement
- An appropriate trafficable surface protection must be installed before any significant foot traffic or construction work occurs in the space
- Minimum curing time: Allow 24 hours before applying protective covering and permitting any traffic
Floor Protection Options:
Several temporary floor protection products are suitable for protecting cured Planiseal MR during construction:
- Floor Guard or similar closed-cell foam protection sheets: Water-repellent, impact-resistant, reusable protection that won’t damage the waterproof coating
- OvaBoard contractor-grade protection: Vapour-permeable heavy-duty cardboard with water shield technology, suitable for up to 60 hours of spill protection
- Heavy-duty polythene sheeting: Minimum 200 micron thickness, taped at seams, provides basic moisture and traffic protection
- Plywood sheets: For heavy equipment or concentrated load areas, lay plywood over polythene sheeting
Installation of Floor Protection:
- Ensure Planiseal MR is fully cured (minimum 24 hours, preferably 48-72 hours)
- Clean the surface of any dust or debris
- Roll out protection material, cutting to fit the space
- Overlap sheets by at least 50-100mm at seams
- Tape seams with appropriate seam tape to prevent tripping hazards and material movement
- For Planiseal MR specifically: avoid heavy adhesive tapes directly on the coating—tape sheets to each other rather than to the waterproofed surface where possible
Duration of Protection:
Keep floor protection in place throughout all subsequent construction work, including:
- Electrical and plumbing installations
- Framing and wall construction
- Painting and finishing work
- Only remove protection when the space is ready for final floor coverings or when construction traffic ceases
“In summary, protecting Auckland basements from water ingress demands cutting-edge solutions like Mapei’s high-tech waterproofing systems. Products such as Lamposilex rapid-setting leak stopper and Planiseal MR crystalline coating deliver robust, long-lasting defences against moisture, keeping living spaces dry and healthy. When expertly installed by local professionals, these advanced membranes and repair mortars ensure superior performance and peace of mind—safeguarding your basement’s structural integrity for years to come.”
Auckland Waterproofing Experts
DIY vs Professional Installation
While the products and techniques described in this guide are available to homeowners, there are significant differences between DIY and professional basement waterproofing that affect both immediate results and long-term performance.
Understanding PS3 Requirements for Auckland Council
For basement waterproofing work that’s part of a building consent in Auckland, a Producer Statement (PS3) – Construction is required to confirm that the waterproofing has been completed according to approved standards.
What is a PS3?
A PS3 is a formal document signed by a qualified tradesperson confirming that specific building work, such as waterproofing, has been completed according to the New Zealand Building Code. For basement waterproofing, this typically relates to Clause E3 (Internal Moisture) and E2 (External Moisture) of the Building Code.
- Must be issued by a qualified and approved installer of the specific waterproofing system
- The installer must be trained or certified by the membrane manufacturer (such as Mapei)
- System used must be accepted by Auckland Council
- Work must follow correct detailing processes, including sealing corners, joints, and penetrations
- Must include product warranty and workmanship warranty documentation
- For external waterproofing, an LBP (Licensed Building Practitioner) record of work may be required
- When bathroom or basement waterproofing is part of a building consent
- When council inspections are required before issuing a Code Compliance Certificate (CCC)
- When the project involves structural changes, plumbing relocations, or wet-area waterproofing
DIY Limitations:
Homeowners cannot issue PS3 statements themselves. Without proper certification and training from product manufacturers, DIY waterproofing cannot be formally approved by council, even if technically well-executed. This creates significant implications for consented work and property transactions.
Real Estate and Property Value Benefits
Professional waterproofing with proper documentation provides substantial benefits beyond just stopping leaks:
Property Transaction Benefits:
When selling a property, potential buyers often request a Land Information Memorandum (LIM) report, which reveals building consents and any unconsented work. Professionally completed waterproofing with PS3 documentation:
- Provides buyers confidence that work meets Building Code standards
- Avoids red flags in LIM reports that can reduce property value or deter buyers
- Enables insurance coverage (many insurers require PS3 for basement waterproofing)
- Demonstrates proper maintenance and care of the property
- Protects against liability for future water damage
Properly documented waterproofing work:
- Maintains or increases property value by creating usable, dry basement space
- Prevents structural damage that significantly reduces property value
- Provides recourse through warranties if issues arise
- Meets requirements for property insurance and mortgage lending
Conversely, unconsented or poorly executed waterproofing can lead to significant issues during property sales, with some buyers requesting substantial price reductions or walking away entirely when waterproofing documentation is missing.
Why Choose Professional Installation
Professional waterproofing contractors bring specialised knowledge that DIY homeowners typically lack:
- Understanding which systems are appropriate for specific conditions
- Proper surface preparation techniques to ensure adhesion
- Experience identifying hidden moisture sources and drainage issues
- Knowledge of Building Code requirements and council expectations
- Troubleshooting skills when unexpected conditions arise
- Consistent results: Professionals deliver code-compliant results using commercial-grade materials
- Proper equipment: Access to professional-grade tools, mixers, and application equipment
- Efficient execution: Experienced installers work faster and more accurately than inexperienced DIYers
- Fewer errors: Professional installation minimises risk of failure, leaks, and non-compliance
- Insurance and warranties: Professional contractors carry insurance and provide warranties, reducing homeowner exposure to future problems
- Legal compliance: Professionals ensure work meets Auckland Council requirements and can obtain necessary PS3 documentation
- Lower long-term costs: While professional installation costs more initially, it typically prevents costly future repairs
- Safety: Professionals have training in handling hazardous materials and working in confined spaces safely
DIY waterproofing may seem faster initially, but inexperience often leads to:
- Delays from mistakes requiring rework
- Extended timelines due to learning curves
- Additional time sourcing correct materials and equipment
- Potential need to hire professionals to fix DIY errors
Professionals work efficiently with established supplier relationships, proper equipment, and systematic processes that ensure timely completion.
Product Warranties and Workmanship Guarantee
Mapei Product Warranty
MBP (NZ) Limited, as a Mapei Group company, provides comprehensive warranties for Mapei products distributed in New Zealand.
- Most products: 10-year warranty coverage
- Waterproofing products: Extended warranty periods available
- Lamposilex and Planiseal MR: Both covered under Mapei’s standard product warranty programme
- Shelf life: 12 months for Planiseal MR when stored correctly; 6 months for Lamposilex in unopened original packaging
For trained and certified applicators through the Mapei Academy programme:
- Liquid waterproofing membranes: Up to 15-year warranty available
- Polyglass sheet membranes: Up to 20-year warranty available
These extended warranties are only available to MBP-issued trained applicator cardholders who have completed in-person training courses.
- Waterproofing warranties are only available to MBP trained, certified, or approved applicators
- All warranties exclude normal wear and tear
- Product warranties do not cover improper installation, inadequate substrate preparation, or use outside product specifications
- Warranty claims require product receipt/invoices as proof of purchase
Approved Applicator Benefits:
Auckland Waterproofing Experts maintains approved applicator status with Mapei, ensuring:
- Access to extended warranty programmes
- Up-to-date training on latest application techniques
- Technical support directly from Mapei when needed
- Ability to issue required PS3 documentation for council compliance
Auckland Waterproofing Experts 5-Year Workmanship Warranty
Beyond manufacturer product warranties, Auckland Waterproofing Experts provides a comprehensive 5-year workmanship warranty on all basement waterproofing installations.
Workmanship Warranty Coverage:
Our 5-year guarantee covers:
- Proper substrate preparation and surface treatment
- Correct mixing and application of all waterproofing products
- Appropriate treatment of joints, corners, and penetrations
- Leak-free performance under normal conditions
- Installation methods meeting manufacturer specifications and Building Code requirements
This workmanship warranty complements Mapei’s product warranty, providing complete coverage for both materials and installation quality. If any issues arise due to installation errors, we will repair or replace the affected areas at no cost to you during the warranty period.
What Sets Our Warranty Apart:
- Comprehensive coverage: Both materials and workmanship protected
- Local availability: We’re Auckland-based and committed to standing behind our work
- Professional service: Prompt response to any warranty claims
- Peace of mind: Sleep soundly knowing your investment is protected
Warranty Requirements:
To maintain warranty coverage:
- Do not penetrate or damage the waterproofing coating after installation
- Do not use nails, screws, or fasteners that break through the waterproof barrier
- If additional penetrations are required for later work, contact us for proper sealing
- Maintain proper drainage systems around your basement
- Allow regular inspections if recommended for your specific installation
Conclusion
Basement waterproofing is an investment in your home’s structural integrity, your family’s health, and your property’s long-term value. The systematic approach outlined in this masterclass—from proper safety preparation through active leak stopping with Lamposilex to complete moisture barrier protection with Planiseal MR—represents the professional standard for basement waterproofing in Auckland.
While the products and techniques are proven and effective, the difference between successful and problematic waterproofing often lies in the details: proper surface preparation, correct mixing ratios, appropriate application thickness, proper joint treatment, and adequate protection during curing. Professional installation ensures these critical details are executed correctly, backed by manufacturer training, council-compliant documentation, and comprehensive warranties.
Auckland Waterproofing Experts combines technical expertise, proven Mapei systems, and a commitment to quality that delivers dry, protected basements built to last. Our 5-year workmanship warranty, combined with Mapei product warranties, provides the assurance Auckland homeowners deserve when protecting their largest investment from water intrusion.
For professional basement waterproofing that stops leaks permanently, meets Auckland Council requirements, and protects your property value with proper documentation, contact Auckland Waterproofing Experts today. Transform your leaking basement into the dry, usable space your home deserves.

