Below Ground Waterproofing and Tanking in Auckland: Systems, Standards & Solutions
Auckland Waterproofing Experts
“In Auckland, moisture doesn’t take a day off. Neither should your building’s waterproofing.”
— Auckland Waterproofing Experts
This guide covers tanking systems in detail. For the complete basement renovation process including costs and consent, see our comprehensive basement renovations guide
Below Ground waterproofing and Tanking in Auckland: Systems, Standards & Solutions
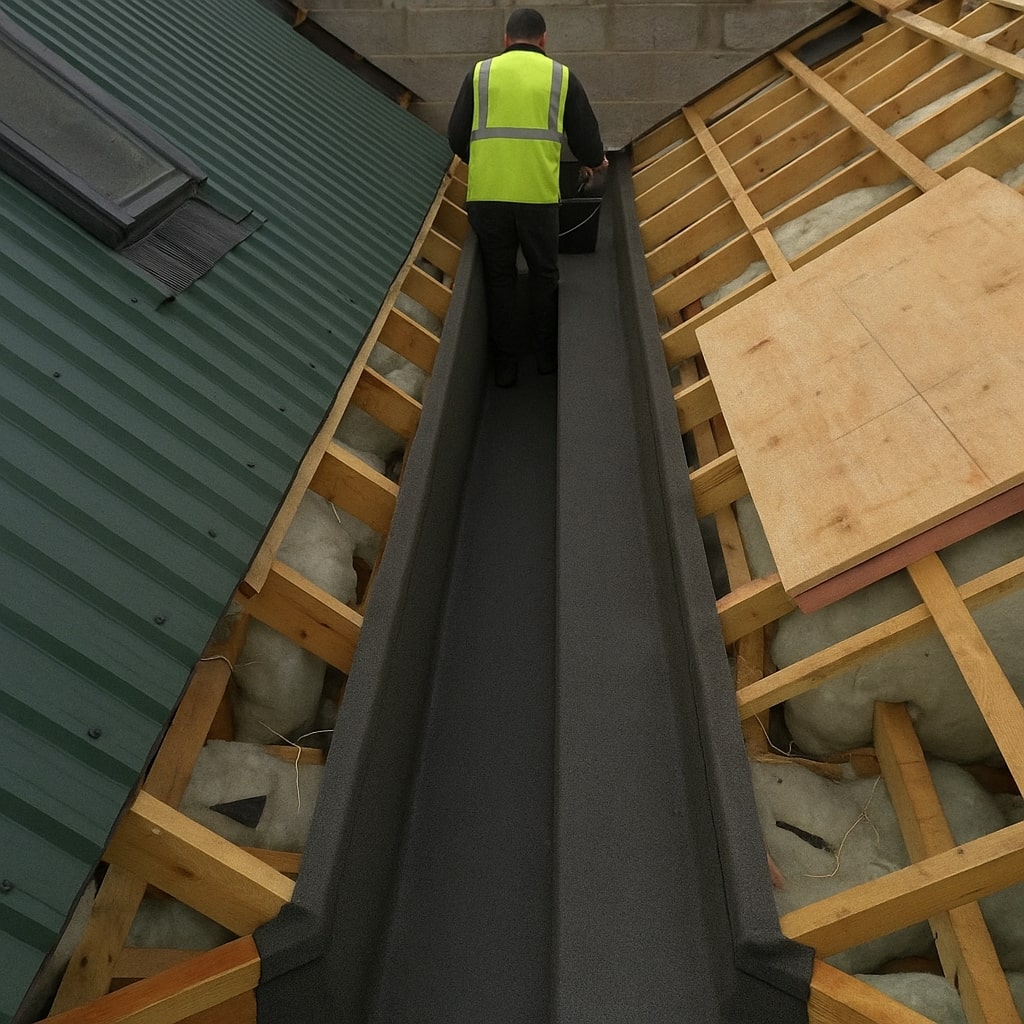
Peel and Stick Tanking Membrane
What Is Below Ground Tanking?
Below ground tanking involves installing durable waterproof barriers to the outside (and sometimes inside) of any part of a building that sits below ground level (like basements, cellars, or retaining walls). The goal is simple: stop water from finding its way into occupied or structural spaces, preventing leaks, mould, and long-term damage.
Why It Matters in Auckland:
Whether you’re building new or renovating, tanking is an investment in your building’s health, resale value, and liveability.
Auckland’s Below-Ground Waterproofing Challenges
Like roofing, Auckland’s underground environments face multiple, sometimes competing, threats:
Risk Factors:
Understanding Tanking Systems & Materials
Not all tanking systems are made equal. The right product depends on site conditions, budget, expected service life, and council requirements.
Main Tanking Systems
| System Type | Application Area | Strengths | Typical Use Cases |
|---|---|---|---|
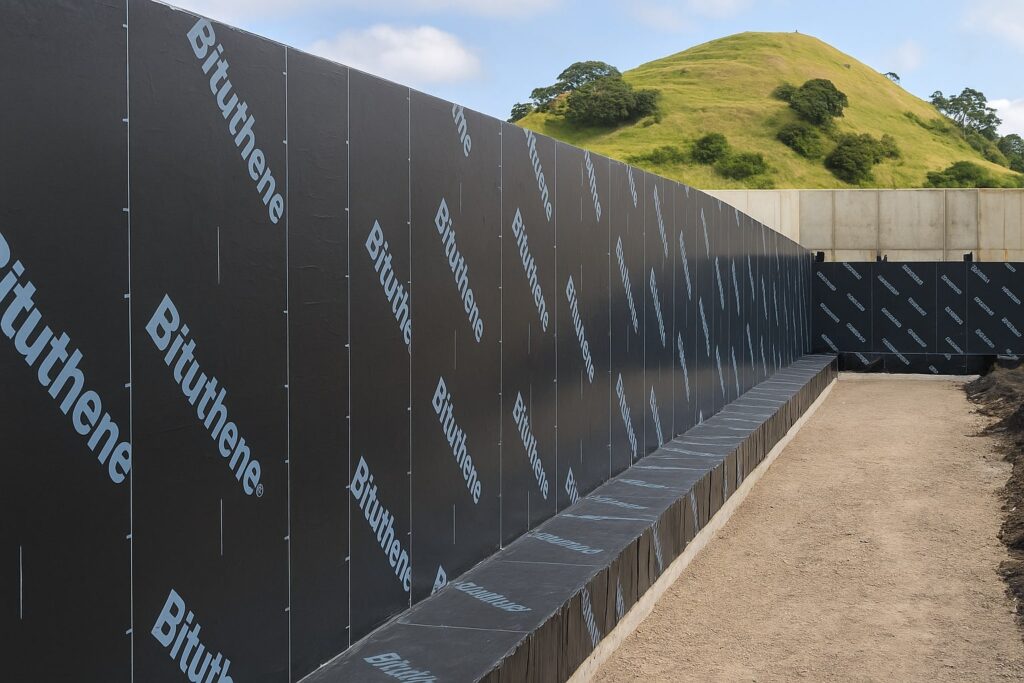
| Self-adhesive Sheet Membranes (e.g. “Peel & Stick”) | Walls, slabs (external) | Fast install, proven record, cost-effective | Basements, residential, additions |
| Torch-on Bitumen Membranes | Floors, walls (external) | Very robust, heat-welded seams, thickness | High-risk, wet sites, deep basements |
| Bentonite Clay Sheets | Walls, floors (external) | Swells to seal gaps, easy detailing, resists shifts | Retaining walls, tunnels |
| Cementitious/Liquid Applied Membranes | Complex shapes, repairs | Seamless, patchable, varied chemistry | Upstands, detail work, internal tanking |
| Watertight Concrete Additives (Integral system) | New pours only | Multi-layered protection, integral structure | New builds, commercial basements |
| Cavity Drained Systems (Type C) | Internal | Manages moisture, suited to high water table | Retrofits, high-consequence spaces |
Key NZ Brands:
- Viking Peel & Stick (self-adhesive)
- Nuralite Nuraply 3PT (torch-on)
- ARDEX Shelterseal WPM3000x
- Volclay Swelltite
- SIKA Blackseal
Product Comparison
Product Comparison Table
| Product Type | Resistance to Water | Ease of Detail | Life Expectancy | Typical Substrates |
|---|---|---|---|---|
| Sheet Membrane | Excellent | Good | 20-30 years | Concrete, masonry |
| Torch-on | Excellent | Excellent | 25+ years | Concrete, block |
| Bentonite Clay | Good | Good | 20+ years | Concrete, block |
| Liquid Applied | Good | Excellent | 15-20 years | Concrete, block, brick |
| Integral System | High (if well detailed) | N/A | 50+ years | New concrete |
System selection must consider: expected water pressure, substrate, temperature at install, accessibility for repairs, and compatibility with other drainage elements.
Standards, Compliance & Best Practice
NZ Context
Council & Compliance Checklist:
- Ensure substrate readiness (clean, dry, correct surface)
- Use only approved membranes with warranty
- Maintain full product documentation & photographic installation records
- Flood test before backfill/covering
- Use only LBP (Licensed Building Practitioner)
Step-by-Step Tanking Process
- Site Assessment
- Survey water table, drainage, soil type, and ground movement risks.
- Identify and remedy cracks or structural defects.
- Surface Preparation
- Excavate all relevant below-ground walls and slab edges.
- Clean, repair, and prime surfaces.
- Install drainage (subsoil/French drain) if not present.
- Detailing/Joint Preparation
- Flash all joints, penetrations, construction/service (pipe) inlets.
- Apply corner reinforcement and bond breakers as per manufacturer.
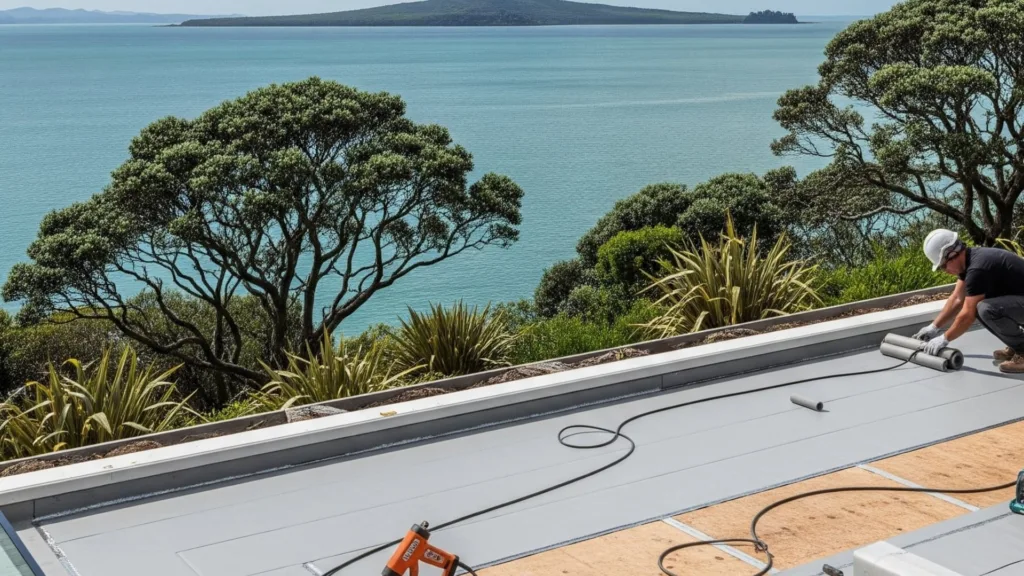
- Membrane Installation
- Self-Adhesive: Apply primer; stick sheets to wall/floor, roll with pressure.
- Torch-on: Heat-apply membrane—ensure full weld at overlaps.
- Bentonite: Place sheet with overlaps; backfill carefully to activate.
- Liquid Applied: Apply by brush or spray, multiple coats, cure as specified.
- Inspection & Testing
- Inspect for coverage gaps, wrinkles, or weak seams.
- Document with photographs.
- Protection & Backfilling
- Apply protection boards/mesh to prevent membrane puncture during backfilling.
- Reinforce protection with Polystyrene.
- Backfill with Scoria.
- Final Certification
- Auckland Council Inspection.
- LBP signoff, producer statement, manufacturer’s warranty secured.
Pro Tip: Once tanking is covered, fixing failures is extremely costly—get it right the first time.
Maintenance: Protecting Your Investment
What to watch out for: bubbling plaster, water stains, or musty odours are early red flags.
Troubleshooting, FAQs & Common Issues
| Issue | Likely Causes | Solution |
|---|---|---|
| Damp basement | Poor detailing, hydrostatic load | Check/drainage, inspect membrane |
| Efflorescence | Water wicking from masonry | Address leaks, repair tanking, improve drainage |
| Leaks at joints | Missed/separated seams | Professional repair, compatible patch |
| Mould & odour | Ingress + poor ventilation | Fix membrane, add venting/dehumidifier |
| Ponding water | Blocked drainage | Clear drains, regrade |
| Early failure | Incompatible products or shortcut | Full strip and re-tank with approved system |
Faqs
Choosing the Right Tanking Specialist
Expertise is everything—this isn’t a DIY job. Look for:
Key Questions to Ask
Final Takeaways
- Tanking is mission-critical below ground in Auckland’s wet environment.
- Choose proven, council-approved systems and experienced installers—don’t cut corners.
- Regular inspection and proactive maintenance guarantee dry, healthy, and saleable underground spaces.
Related Blog Posts & Further Reading
To learn more or arrange a specialist consultation, simply complete our easy online form. Our experienced team will be in touch promptly to discuss your needs and recommend the perfect solution for your project.