Underslab Membrane: What Goes Under a New Slab Before the Pour
A guide to DPMs and underslab tanking, by Alex Salikov of Auckland Waterproofing Experts
An underslab membrane is the layer laid under a concrete slab, before the pour, to stop ground moisture coming up through the floor. On most new Auckland slabs that layer is a simple damp-proof membrane (DPM). Some slabs need more: a full tanking membrane that can deal with water, not just damp.
Once the concrete is down, you can’t get underneath it again. That’s why the choice, and the checks before the pour, matter so much. This guide explains the difference, when you need the heavier option, and what to look for before the concrete truck arrives.
What a basic DPM does
A DPM is a continuous sheet laid over the prepared ground under the whole slab. BRANZ’s bulletin on preparing for concrete floor slabs says the DPM must resist penetration by both liquid water and water vapour. To meet E2/AS1 it must have a water vapour flow resistance of not less than 90 MNs/g and be continuous under the whole slab (BRANZ BU498).
The most common DPM is 0.25 mm polythene sheet. BRANZ also mentions reinforced and laminated polythene, which resists puncturing better, and modified bitumen sheet with a polythene backing. According to the same bulletin, the sheet should:
- cover the complete slab area, turned up at the foundation or down into the trench
- lie without wrinkles, with as few joints as possible
- lap 150 mm at joins, with every joint taped
- be cut neatly around pipes and other penetrations, which are then sealed with tape.
BRANZ recommends a 25 mm layer of sand over the hardfill first, so sharp stones don’t puncture the sheet. Care is needed again when the insulation, steel and concrete go on top.
For a typical house slab on a dry, flat site, a properly laid DPM is what the Building Code expects. It handles damp. It isn’t designed to hold back water under pressure.
When an underslab membrane needs to be tanking
Tanking is a waterproofing membrane designed to keep water out of a below-ground structure, including water pushing against it. BRANZ’s article on below-ground damp-proofing lists the options used under slabs: polythene sheet, proprietary concrete underlays, torch-on modified bitumen sheet, self-adhesive bitumen sheet with self-adhering laps, and bentonite (BRANZ: Building down). The same article says basements that are more than one floor below ground, subject to hydrostatic pressure, or continually wet need a specifically designed tanking system.

In practice, a new slab usually needs more than a basic DPM when:
- There’s a habitable room below ground level. A rumpus room, bedroom or office cut into a slope has to stay dry, not just mostly dry.
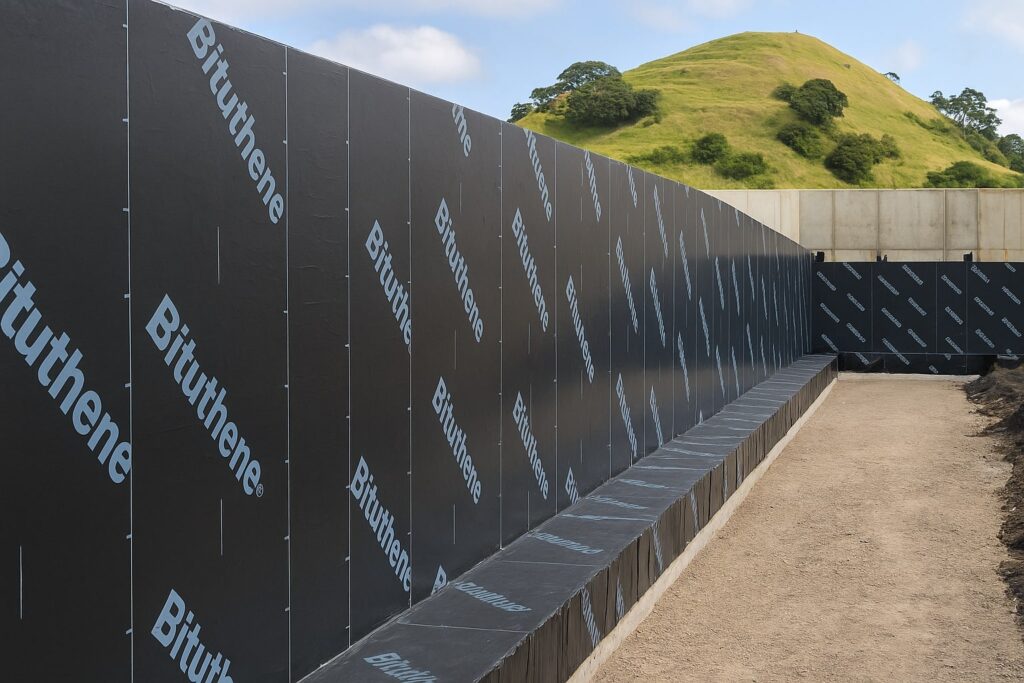
- The slab ties into a tanked retaining wall. The wall membrane and the underslab membrane have to join into one continuous layer.
- The ground is wet. A high water table or a site that holds water after rain puts pressure on the slab, not just damp.
Auckland Council’s guide to booking inspections makes the link clear. If a retaining wall is part of a habitable space, the foundation also needs a membrane, and the junction between the foundation membrane and the wall membrane is inspected (Auckland Council AC1824).
That junction is where below-ground waterproofing most often fails. BRANZ recommends specifying the same damp-proofing material for the wall and under the slab, so the two are compatible and can be sealed together. Our guide to below-ground waterproofing and tanking covers the wall side in more detail.
Choosing the membrane with your designer
The membrane is part of the consented design, so your designer or engineer specifies it. The questions worth asking at that stage are:
- Will any room on this slab be below the ground outside it?
- Does the slab connect to a retaining wall, and how is that wall waterproofed?
- Is the same membrane system used on the wall and under the slab, or are the two compatible?
- What does the site investigation say about groundwater?
- Who installs the membrane, and how is the wall-to-slab junction detailed?
If you’d like to see the kinds of below-ground and underslab membrane systems available, our waterproofing membranes auckland page compares the main types.
The pre-pour inspection, and why photos matter
On a consented job, Auckland Council inspects the slab before any concrete is poured. For a slab-on-grade, the inspector checks that the hardfill has been compacted, the DPM is in position, and the steel reinforcing is tied and supported on chairs (AC1824). Any plumbing in the slab is inspected beforehand.
The inspection is a snapshot. Photos are the lasting record. Before the pour, it’s worth photographing:
- the laps and taped joints across the membrane
- every pipe or penetration and how it’s sealed
- the edges, where the membrane turns up the foundation or meets the wall tanking
- any repairs to tears or punctures made after the steel went in.
If a damp problem ever shows up in the floor, those photos are the only way to see what’s under the concrete without breaking it out. They also help when you sell the house.
Common mistakes before the pour
- Laying the sheet straight onto sharp hardfill with no sand blinding.
- Leaving laps untaped, or tape that has lifted in the wind or rain.
- Tears from boots, steel or barrows that nobody notices or repairs before the pour.
- Pipes cut through the membrane without being sealed.
- A tanked wall and an underslab sheet that don’t join up, leaving a gap at the base of the wall.
Each of these is easy to fix before the concrete arrives and very hard to fix afterwards.
Where we come in
Yes — the underslab membrane is installed before the pour. The builder invites Auckland Waterproofing Experts; we do a site visit and measure-up, then come back to install the membrane, weld it where needed and fix it up the boxing, and then the builder pours the concrete. If your project has a room below ground or a slab tied into a retaining wall, we’re happy to look at the plans and talk through the membrane and the wall-to-slab junction. Any quote is always free, written and itemised. When the work is done, you get product and workmanship warranties where applicable, and photos of the work. If the job is consented through Auckland Council, you also get a PS3.
Decide before the concrete arrives
An underslab membrane is the one waterproofing layer you can’t reach once the slab is poured, so decide between a basic DPM and full tanking early, and check and photograph it before the pour.
You can also read our waterproofing FAQs.