Waterproofing Membrane Thickness: How Thick It Should Be and How It’s Checked
How membrane thickness is specified and checked, by Alex Salikov of Auckland Waterproofing Experts
Waterproofing membrane thickness is one of those details most homeowners never think about, until something leaks. A membrane that’s too thin may look finished on the day, but it has less in reserve to stretch over cracks, resist wear and last for its design life. The good news is that thickness can be specified, measured and recorded, and you’re entitled to ask how it was done on your job.
This guide explains where the right thickness comes from for sheet and liquid membranes, how it’s checked on site, and what evidence Auckland Council expects. It deliberately doesn’t give a single number, because the right figure depends on the system and where it’s used.
Why thickness matters
BRANZ reports hearing of issues with liquid waterproofing membranes in wet areas, particularly tiled showers, where the membrane was applied too thinly. It points out that while tiles may be impervious, cement-based grout is not, so the membrane has to be applied properly (BRANZ: Wet area liquid membrane thickness). The same principle applies outside on decks and roofs: the membrane’s performance depends on it being built to the thickness its maker designed it for.
Sheet membranes: thickness is set in the factory
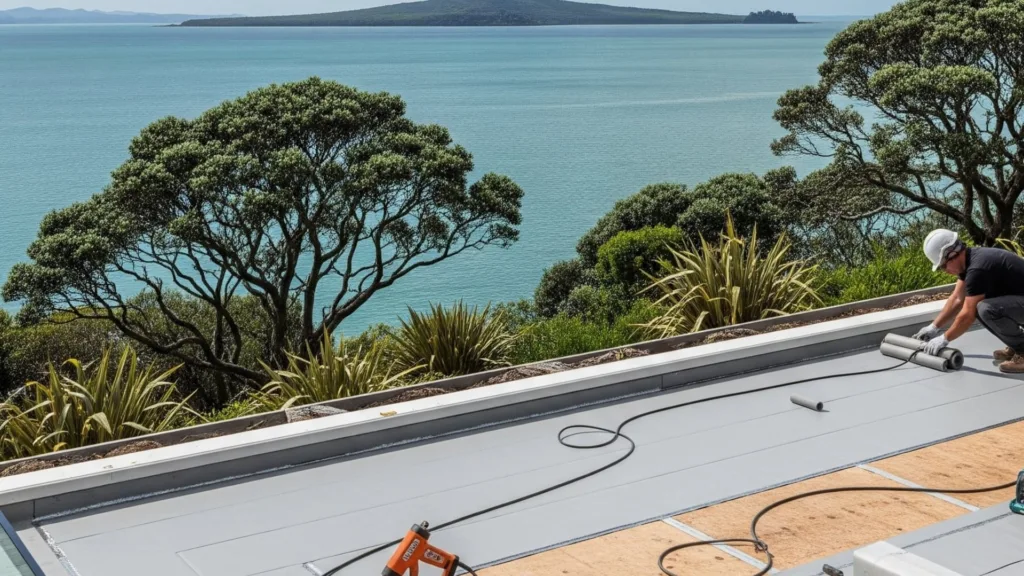
Sheet membranes such as butyl, EPDM, TPO, PVC and torch-on arrive on a roll at a fixed thickness. For butyl and EPDM, the Acceptable Solution E2/AS1 sets a minimum of 1 mm for roofing and 1.5 mm for decks (MBIE: E2/AS1, paragraph 8.5.2.2). Other sheet systems sit outside E2/AS1, and their thickness is set by the manufacturer’s technical literature for that use.
On site, checking a sheet membrane is mostly about confirming the right product went down: the product name and grade on the packaging, and that it matches the consented system. Auckland Council lists photos of the membrane product packaging among the quality assurance evidence for a producer statement. For a side-by-side look at the common membrane types and their specs, see our page on waterproofing membranes auckland.
Liquid membranes: thickness is built coat by coat
With a liquid-applied membrane, the applicator creates the thickness on site, so it depends on how much material goes on and how many coats. BRANZ lists the manufacturer and supplier requirements that typically affect thickness (BRANZ):
- the minimum number of coats, very often two
- the application rate, given as litres per square metre
- a minimum wet film or dry film thickness.
There’s a catch: a liquid membrane gets thinner as it cures, so the wet film on the day is not the same as the dry film thickness later. BRANZ notes that dry film thickness for liquid-applied systems, along with curing time between coats, is part of the supplier’s installation requirements that must be understood and followed (BRANZ: Membranes do matter). The correct wet-film target comes from the New Zealand manufacturer or supplier for that product — not a general rule of thumb — and the right waterproofing membrane thickness is whatever that specification says for the use.
How waterproofing membrane thickness is checked
The usual tool is a wet film thickness gauge: a small notched metal card with teeth of different lengths. Pressed into the wet coat and lifted out, it shows which teeth are wet and which aren’t, giving a reading for that coat. BRANZ describes these gauges as readily available, inexpensive, and a simple, robust way to confirm application requirements are met during each coat.

Auckland Council expects that evidence. Its guide to booking inspections says the producer statement (PS3) for each membrane should be supported by quality assurance evidence, including primer and membrane thickness, with a photo sample of each surface with a wet film thickness gauge demonstrating compliance for each coat (Auckland Council: AC1824 guide to booking inspections). Our guide to PS3 waterproofing in Auckland explains how that paperwork fits into council sign-off.
Those photos matter because thickness is hard to check later. BRANZ notes that even where councils inspect a membrane before tiling, it can be difficult for them to effectively check its thickness. Once tiles, pavers or a topcoat go on, the record taken during application is the main proof of what was built.
Thickness is only part of the job
A membrane at the right thickness can still fail if other steps are skipped. BRANZ lists, for liquid wet area membranes, compatibility with the tile adhesive or grout, fully embedding any reinforcing, and letting each coat dry or cure properly before the next coat or tiling. It also advises checking both the manufacturer’s installation documents and the product’s appraisal, because many requirements must be met apart from thickness. Durability is the reason all this matters: BRANZ notes wet area membranes must have a service life of at least 15 years under the Building Code. Our guide to B2 durability for waterproofing explains those periods.
What to ask for as a homeowner
- the name of the membrane system, and its technical data sheet or appraisal showing the required coats and film thickness for your use
- photos of the work, including the membrane before it’s covered
- product and workmanship warranties where applicable
- a producer statement (PS3) if the job is consented through Auckland Council.
When you’re comparing quotes, look for the membrane system and number of coats written down. Every quote from our team is free, written and itemised, and names the system being used. When the work is done, you get product and workmanship warranties where applicable, and photos of the work. If the job is consented through Auckland Council, you also get a PS3.
Ask how it was measured
Waterproofing membrane thickness comes from the manufacturer’s specification, is fixed in the factory for sheet membranes and built coat by coat for liquids, and is checked on site as each coat goes on.
You can also read our waterproofing FAQs.